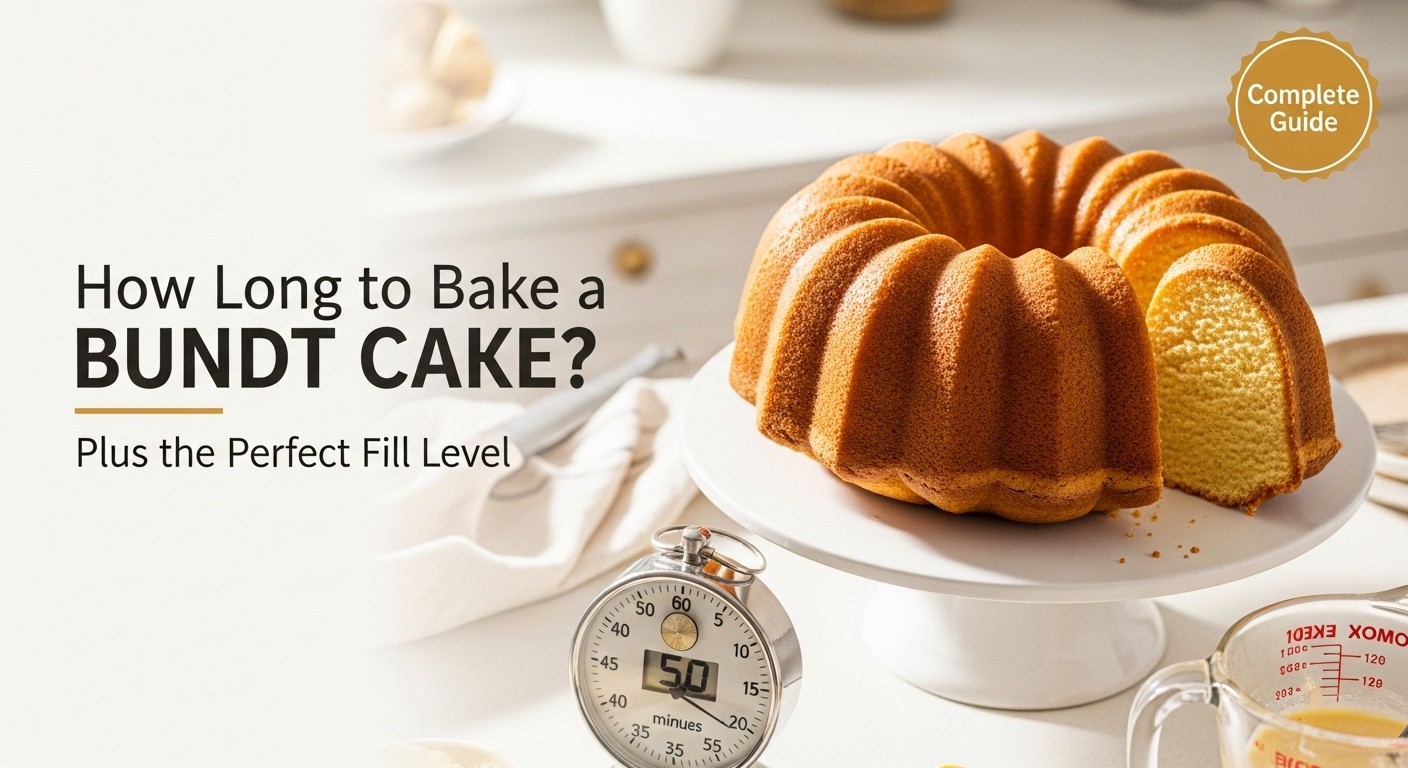
I'll never forget the first time I tried to bake a bundt cake. I was so excited about using my new bundt pan that I filled it almost to the brim with batter, thinking more cake meant better cake. What I got instead was a volcanic eruption of batter all over my oven and a cake that looked like it had been through a disaster. That's when I learned the hard way that bundt cakes have their own set of rules.
After years of baking bundt cakes for everything from Sunday brunches to holiday gatherings, I've finally figured out the secrets to getting them right every single time. And trust me, once you understand the basics of how full to fill your pan and how long to actually bake these beauties, you'll wonder why you ever stressed about it in the first place.
The Magic of Bundt Cakes: Why They're Worth Mastering
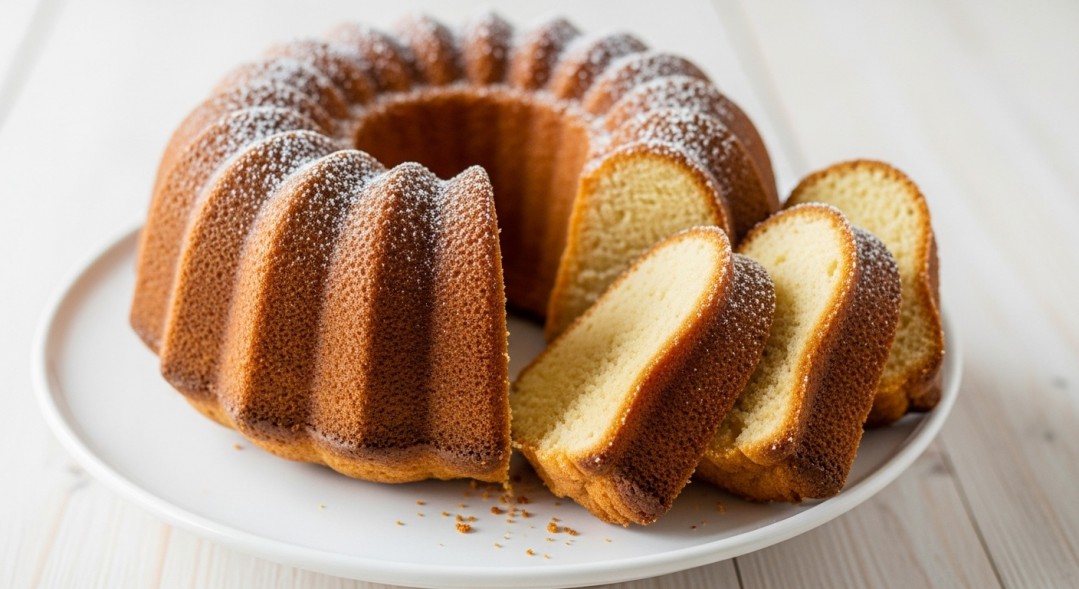
There's something special about bundt cakes that regular round cakes just don't have. Maybe it's those gorgeous ridges and designs, or the way they look impressive without requiring any fancy decorating skills. My grandmother used to say that a bundt cake is "fancy enough for guests but easy enough for Tuesday," and she was absolutely right.
The bundt pan was actually invented back in the 1950s by a company called Nordic Ware, and it quickly became a kitchen staple across America. What makes these pans unique is their tube center, which helps the cake bake more evenly by allowing heat to reach the middle of the batter from both the outside and the inside. This means you get a perfectly cooked cake without any gummy centers.
Choosing Your Bundt Cake Recipe: Mix or From Scratch?
Before we dive into the technical stuff, let's talk about what you're actually baking. I'm not going to lie to you—I've used boxed cake mixes plenty of times, and they work wonderfully in bundt pans. There's absolutely no shame in taking that shortcut, especially on busy weekdays.
The Cake Mix Question: How Many Boxes Do You Need?
Here's a question I get asked all the time: how many cake mixes do you need for a bundt pan? The answer is refreshingly simple. One standard box of cake mix is designed to fill a standard 10 to 12-cup bundt pan perfectly. That's it. One box, one bundt cake.
Now, I know some people who swear by using two boxes for an extra-tall cake, but honestly, that's asking for trouble. You'll likely end up with overflow, and the baking time becomes unpredictable. Stick with one box and you'll be golden.
From-Scratch Recipes
If you're going the homemade route, most bundt cake recipes are specifically written for standard bundt pans. Just make sure you're checking the yield on your recipe. If it says it makes a 9-inch layer cake, that recipe will work perfectly in your bundt pan too. I've converted countless regular cake recipes to bundt format, and it's almost always a one-to-one swap.
Preparing Your Bundt Pan: Don't Skip This Step
I'm going to be straight with you—this is where most bundt cake disasters happen. A poorly prepared pan is the number one reason cakes stick, and there's nothing more heartbreaking than turning out your cake only to have half of it remain glued to the pan.
I used to think a quick spray of cooking spray would do the trick. Wrong. So wrong. Those intricate designs in bundt pans have tons of nooks and crannies that need thorough coverage.
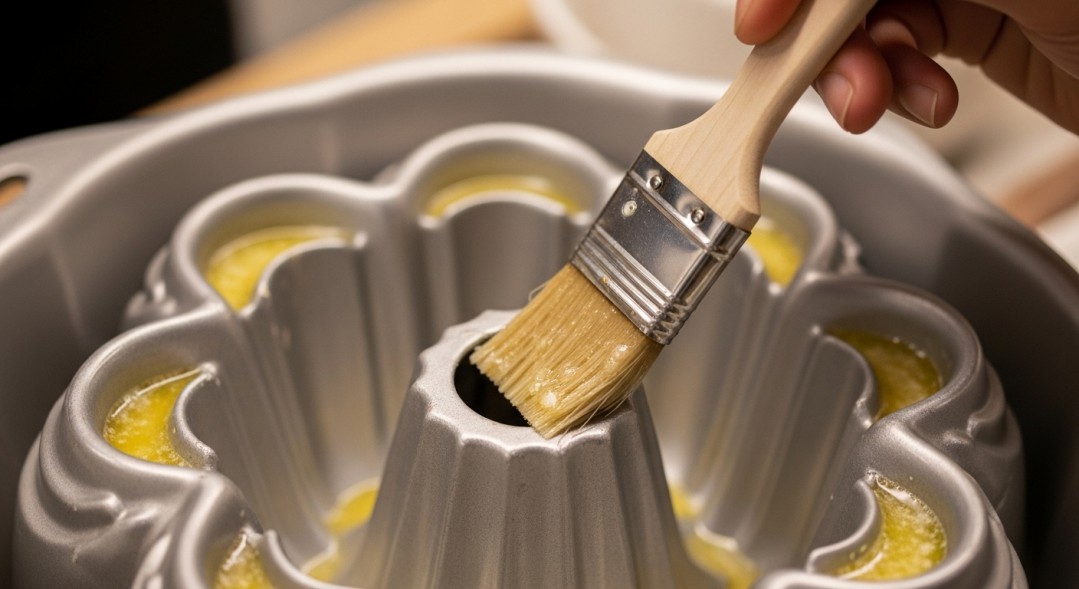
Here's my foolproof method: I use softened butter and a pastry brush to get into every single groove and detail of the pan. Then I dust it with flour (or cocoa powder if I'm making a chocolate cake) and tap out the excess. Yes, it takes an extra five minutes, but I promise you it's worth it. I haven't had a stuck cake in years.
Some people swear by baking spray with flour already in it, and I'll admit that works great too. The key is being thorough. Don't just spray and hope for the best.
The Golden Rule: How Full to Fill a Bundt Pan
Alright, this is the critical information that will save you from the mess I made with my first bundt cake. The golden rule is simple: fill your bundt pan between two-thirds and three-quarters full. That's it. No more, no less.
Why This Matters So Much
When cake batter bakes, it rises. That's what all that baking powder and baking soda are doing in there. If you fill your pan too full, that rising batter has nowhere to go but over the sides of your pan. And let me tell you, cleaning burnt cake batter off the bottom of your oven is nobody's idea of a good time.
I learned to eyeball it after a while, but when I was starting out, I actually measured. For a standard 12-cup bundt pan, I'd pour in about 8 to 9 cups of batter. That puts you right in the sweet spot.
What About Different Batter Types?
Here's something I didn't know at first: different batters behave differently. A dense pound cake batter won't rise as much as a light, fluffy yellow cake batter. These days, I fill pound cake batters a tiny bit higher—maybe to three-quarters full—because I know they won't puff up as dramatically. For lighter batters, I stay closer to the two-thirds mark.
If you're ever unsure, err on the side of less batter. You can always use leftover batter to make a few cupcakes on the side. In fact, I do this pretty regularly. Those extra cupcakes are perfect for taste-testing or sneaking a treat before the main cake is served.
How Long to Bake a Bundt Cake: The Complete Timing Guide
Now we're getting to the heart of the matter. If there's one question I hear more than any other, it's "how long does a bundt cake actually take to bake?" The answer isn't quite as straightforward as I'd like it to be, but I'll break it down in a way that makes sense.
The General Timeframe
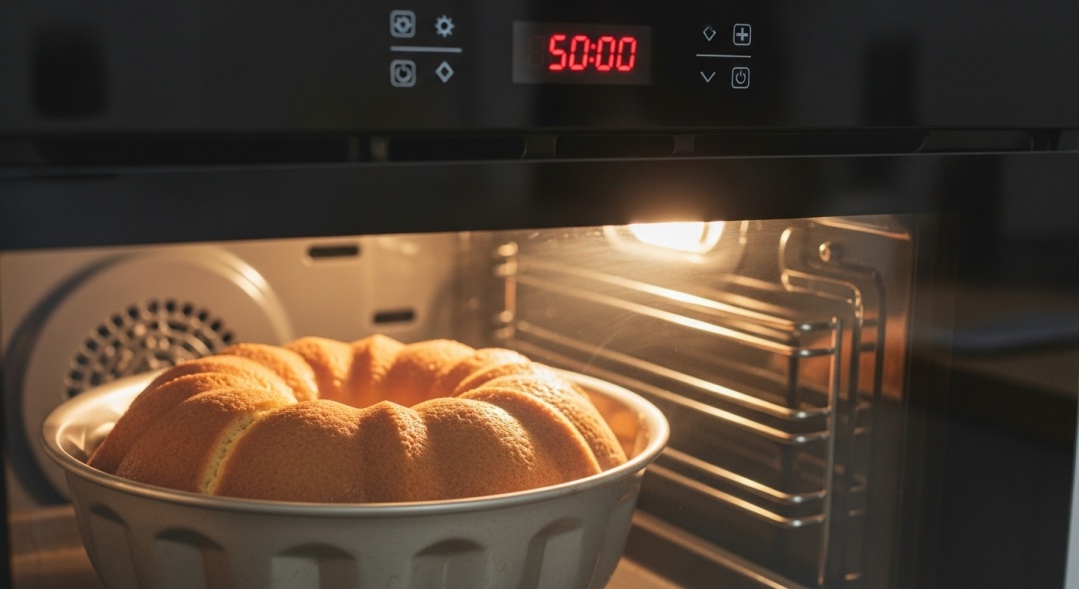
Most bundt cakes bake at temperatures between 325°F and 350°F for about 45 to 60 minutes. I know that's a pretty wide range, but there are good reasons for the variation.
I typically start checking my cakes around the 45-minute mark. Some lighter cakes are done right at that point, while denser cakes—like my favorite sour cream pound cake—can take the full hour or even a few minutes longer.
What Affects Baking Time?
Several factors come into play when determining how long your specific cake needs:
Your Oven
I hate to break it to you, but your oven probably doesn't heat exactly to the temperature it says it does. My old apartment oven ran about 25 degrees cool, which meant everything took longer. I eventually bought an oven thermometer (they're like $6), and it changed my baking life. Now I know exactly what temperature I'm working with.
Pan Size and Material
Not all bundt pans are created equal. A darker pan absorbs more heat and can bake cakes faster, sometimes requiring you to lower the temperature by 25 degrees. Lighter-colored pans or silicone pans bake more slowly. My dark nonstick Nordic Ware pan bakes cakes about 5 minutes faster than my lighter aluminum one.
The Recipe Itself
A chocolate cake with sour cream and oil is going to bake differently than a basic vanilla cake made with butter. Denser batters with more fat take longer. Recipes with a lot of sugar might brown faster on the outside while taking longer to cook through.
Altitude
If you live at high altitude like my sister does in Colorado, all bets are off. She has to adjust both temperature and time. If this is you, I'd recommend looking up altitude baking adjustments specific to your area.
How to Know When It's Actually Done
Forget the clock for a minute. Your eyes and a toothpick are your best friends here. I look for three signs that tell me my cake is ready:
First, the cake should be pulling away from the sides of the pan just slightly. You'll see a tiny gap forming around the edges.
Second, the top should be golden brown and spring back when you gently press it with your finger. If your finger leaves an indent, it needs more time.
Third, and most importantly, the toothpick test. I insert a wooden skewer or toothpick into the cake in several spots (especially near the center tube where it's thickest). It should come out clean or with just a few moist crumbs clinging to it. If you see wet batter, it's not done yet. Give it another 5 minutes and check again.
I've learned not to rush this step. I once pulled a cake out too early because I was in a hurry to get to a dinner party, and the center was still gooey. I had to play it off like it was "lava cake style," which didn't really work for a lemon bundt cake.
Step-by-Step: How to Bake a Bundt Cake from Start to Finish
Let me walk you through my entire process, from mixing bowl to finished cake. This is exactly what I do every time, and it hasn't failed me yet.
Mixing Your Batter
Whether you're using a mix or making from scratch, proper mixing matters. I use my stand mixer for most cakes, but a hand mixer works just fine too. The key is not to overmix once you've added the flour. Overmixing develops too much gluten and makes your cake tough.
For most recipes, I cream the butter and sugar first until it's light and fluffy—this takes about 3 to 4 minutes and is crucial for texture. Then I add eggs one at a time, mixing well after each addition. Finally, I alternate adding the dry ingredients and any liquids, starting and ending with the dry ingredients. This keeps everything emulsified and prevents the batter from separating.
Pouring Technique
Here's a trick I learned from my aunt who worked in a bakery: pour the batter in a steady stream around the tube, moving around the pan as you pour. This helps prevent air pockets and ensures even distribution.
Once all the batter is in, I pick up the pan and gently tap it on the counter a few times. This brings any air bubbles to the surface and settles the batter into all those decorative grooves. Don't skip this step—it really does make a difference.
Oven Placement
I always bake my bundt cakes on the center rack of my oven. This ensures the most even heat circulation. If you put it too high, the top might brown too quickly. Too low, and the bottom might burn before the center cooks through.
The Cooling Process
This is where patience becomes a virtue, and I'll admit it's the hardest part for me. When that timer goes off and I pull out my beautifully golden cake, I want to immediately flip it onto a plate and admire my work. But I've learned to wait.
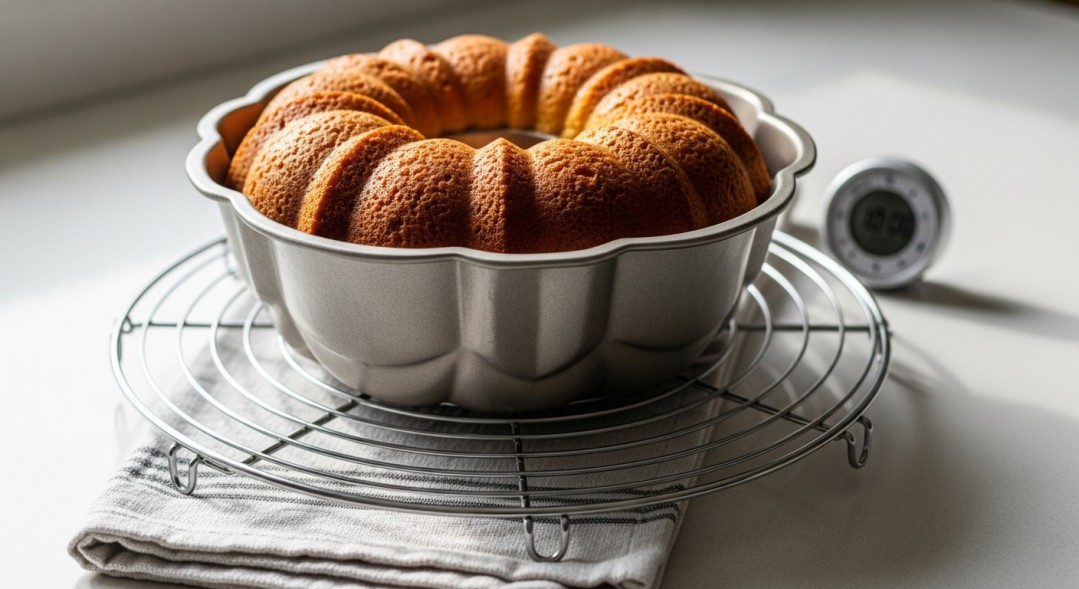
Let the cake cool in the pan on a wire rack for exactly 10 to 15 minutes. Not longer, not shorter if you can help it. Too short and the cake is too fragile and will break apart. Too long and it starts to stick to the pan as it cools and contracts.
After those 10 to 15 minutes, I place a wire rack or serving plate over the top of the pan, then quickly but carefully flip the whole thing over. I leave the pan in place for a minute or two, then gently lift it off. If the cake doesn't release immediately, I don't panic. I just give the pan a few gentle taps and wait another minute.
The satisfaction of lifting that pan to reveal a perfectly shaped, beautifully detailed bundt cake never gets old. It's like unwrapping a present every single time.
Troubleshooting Common Bundt Cake Problems
Even with years of experience, things can still go wrong. Here's how I handle the most common issues:
The Cake Stuck to the Pan
If this happens, don't try to pry it out—you'll just make it worse. Let the cake cool completely in the pan, then try warming the outside of the pan slightly with a warm, damp towel. Sometimes the gentle heat helps release it. In the future, be more generous with your pan preparation.
I've also learned that some pans are just stickier than others. My ornate vintage pan is gorgeous but temperamental, so I'm extra careful with the greasing when I use it.
Raw Center but Browned Outside
This usually means your oven temperature is too high. The outside is cooking too fast while the inside lags behind. Next time, reduce your temperature by 25 degrees and increase the baking time slightly. You can also tent the top with aluminum foil if it's browning too quickly before the center is done.
Domed or Sunken Top
A domed cake usually means your oven is too hot. A sunken center typically means the cake wasn't fully baked, or you opened the oven door too early in the baking process (I'm guilty of this—I get impatient). Try to resist checking on your cake until at least 40 minutes have passed.
Dry Texture
Overbaking is the usual culprit here. Remember, the cake continues cooking a bit even after you take it out of the oven, so it's better to pull it out when it's just barely done rather than waiting for it to be perfectly done. I'd rather have a slightly moist center than a dry cake.
Finishing Touches: Making Your Bundt Cake Shine
The beautiful thing about bundt cakes is that they look impressive even completely naked. But sometimes you want to dress them up a bit.
Glazes and Frostings
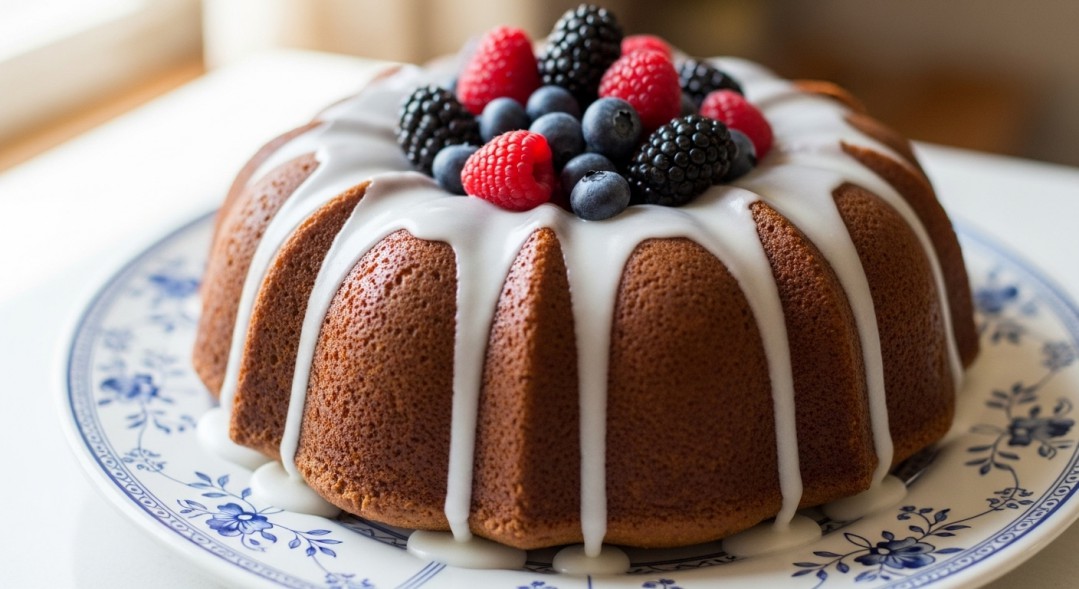
I'm a big fan of simple glazes for bundt cakes. My go-to is a basic powdered sugar glaze: just powdered sugar, a little milk or cream, and vanilla extract whisked together until smooth. I pour it over the top of the cooled cake and let it drip down the sides naturally. It looks elegant and adds just enough sweetness without overwhelming the cake.
For chocolate bundt cakes, a chocolate ganache is perfection. Equal parts heavy cream and chocolate chips, heated and stirred until smooth, then poured over the cake while still warm. It sets into a beautiful glossy finish.
Cream cheese frosting works too, though I usually thin it out a bit with milk so it's more pourable than spreadable. Trying to spread thick frosting on all those ridges is a exercise in frustration.
Simple Decoration Ideas
Sometimes I'll add fresh berries to the center of the cake or arrange them around the bottom. Edible flowers are gorgeous if you're feeling fancy. A simple dusting of powdered sugar through a fine-mesh strainer also looks beautiful and takes about 30 seconds.
For the holidays, I've been known to add a few sprigs of fresh rosemary and sugared cranberries. It looks like something from a magazine but requires almost no skill.
Storage Tips
Bundt cakes actually keep really well, which is one reason I love them. I store mine under a cake dome at room temperature for up to three days. If I've glazed it, I wait until the glaze is completely set before covering it, otherwise it'll stick to the cover.
For longer storage, these cakes freeze beautifully. I wrap them tightly in plastic wrap, then in aluminum foil, and they'll keep in the freezer for up to three months. Just thaw at room temperature before serving. I usually add the glaze after thawing rather than before freezing.
Your Turn to Bake
Here's what I want you to remember: bundt cakes are forgiving. They're designed to be beautiful without requiring professional decorating skills. Once you nail down the basics—two-thirds to three-quarters full, 45 to 60 minutes at 325-350°F, and thorough pan preparation—you're going to succeed.
My best advice? Don't overthink it. Pick a recipe that sounds good, follow the guidelines I've laid out here, and trust the process. Your first bundt cake might not be perfect, but I guarantee your third or fourth one will be spectacular.
I've baked dozens of bundt cakes over the years, from simple vanilla pound cakes to elaborate chocolate espresso creations. Each one has taught me something. Some were dinner party showstoppers, others were quiet Sunday morning treats shared with coffee and the newspaper. But every single one was worth making.
So go ahead and dust off that bundt pan. Grease it well, fill it two-thirds full, and set your timer for 50 minutes as a starting point. Before you know it, you'll be pulling a gorgeous, perfectly baked bundt cake from your oven, and you'll understand exactly why these cakes have remained popular for over 70 years.
Now if you'll excuse me, all this talk of bundt cakes has me craving my lemon blueberry version. I think I know what I'm baking this afternoon.
Leave a Reply