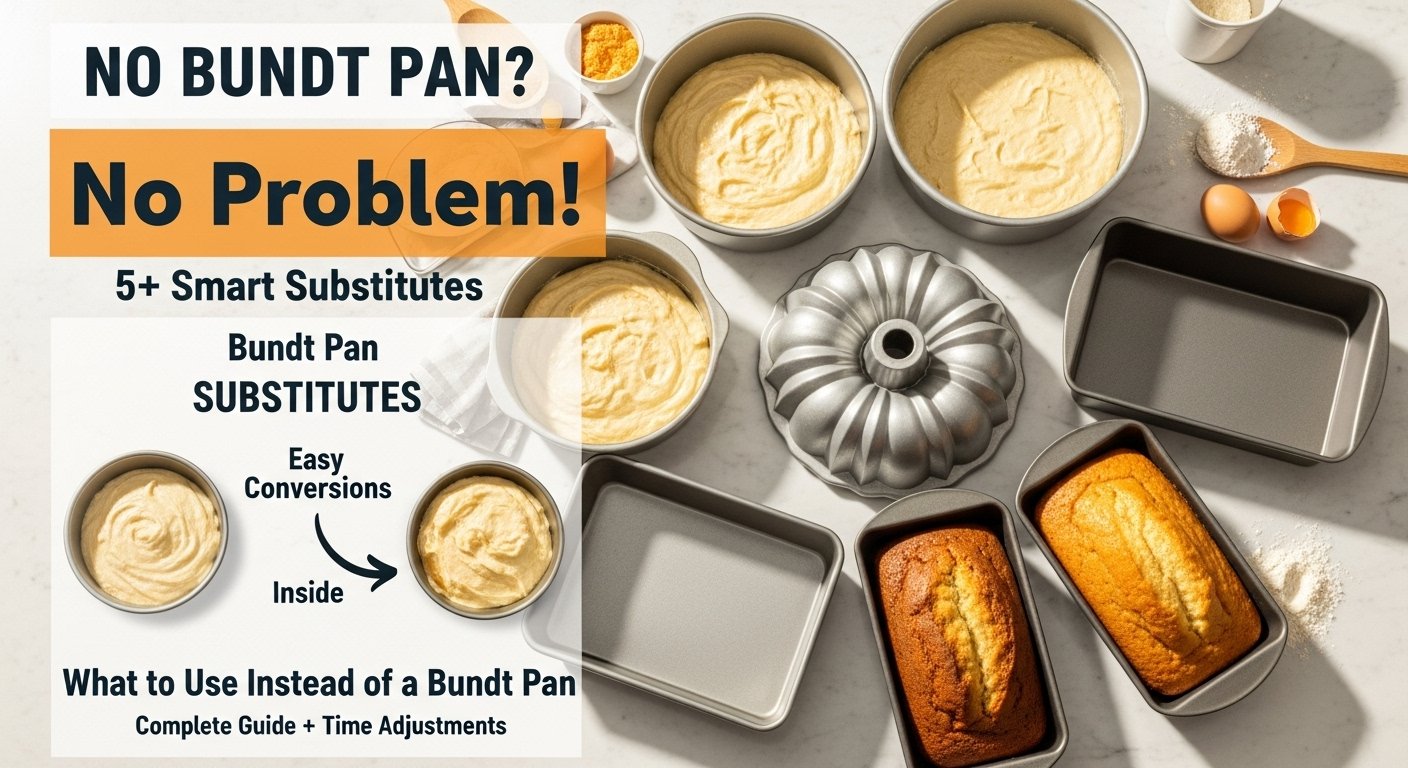
You know that sinking feeling when you're scrolling through Pinterest, you find the most gorgeous bundt cake recipe, and then it hits you—you don't own a bundt pan? I've been there more times than I'd like to admit. For years, I watched those beautiful bundt cake recipes pass me by, convinced I couldn't make them without that specific pan sitting in my cabinet.
Here's what I've learned through plenty of trial and error: you absolutely can make stunning bundt-style cakes without the actual pan. The bundt pan's distinctive ring shape and center tube aren't just for looks—they help cakes bake evenly and create that iconic presentation—but with a few smart adjustments, your regular baking pans can deliver delicious results too.
In this guide, I'm sharing everything I've discovered about bundt pan substitutes, including which alternatives work best, how to adjust your baking times, and the exact pan equivalencies that'll save you from mathematical headaches mid-recipe.
Why Bundt Pans Are Special (But Not Irreplaceable)
Before we dive into substitutes, let's talk about what makes a bundt pan unique. The standard bundt pan holds between 10 and 15 cups of batter, with 12 cups being the most common size. That center tube isn't just decorative—it's actually a clever design feature that allows heat to reach the middle of the cake from the inside out.
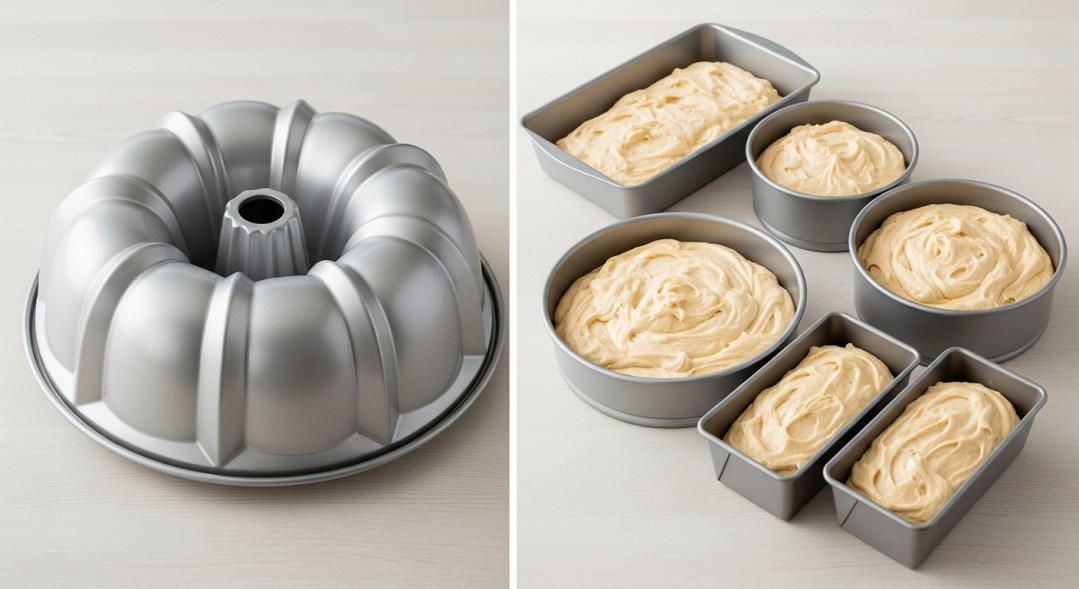
When I first started baking, I assumed this was absolutely essential. I thought without that tube, my cakes would come out raw in the center or take forever to bake through. But here's the thing: while the tube does speed up baking and promote even cooking, it's not the only way to achieve a perfectly baked cake.
The real key is understanding how different pans affect heat distribution and adjusting your approach accordingly. Once I figured this out, a whole world of bundt recipes opened up to me, even though my bundt pan was still gathering dust at my mom's house three states away.
Can You Actually Make Bundt Cake in a Regular Pan?
Short answer? Absolutely yes. I've done it dozens of times, and while the shape won't have those gorgeous ridges, the cake itself turns out wonderfully.
The main difference you'll notice is baking time. Without that center tube conducting heat to the middle of your cake, you'll need to leave it in the oven longer—sometimes 10 to 20 minutes more than the original recipe calls for. I learned this the hard way when I pulled out what looked like a perfectly golden cake, only to have the toothpick come out covered in wet batter. Not my finest baking moment.
You might also notice slight texture differences. The center tube in a bundt pan helps moisture distribute more evenly throughout the cake. In a regular pan, especially deeper ones, the edges can sometimes become a bit drier by the time the center is fully baked. I've found that covering the pan with foil during the last 15 minutes of baking helps prevent over-browning while the center finishes cooking.
The most important thing I've learned? Don't just rely on the recipe's stated baking time. Trust your tests for doneness instead—a toothpick or cake tester inserted into the deepest part should come out clean or with just a few moist crumbs, and the cake should spring back when lightly pressed.
The Best Alternatives to a Bundt Pan
9x13 Inch Rectangular Pan
This is honestly my go-to substitute for most bundt recipes. A standard 9x13 pan holds about 14 to 15 cups, which is slightly more than most bundt pans, so it handles pretty much any bundt recipe without overflow drama.
I love using this pan because it transforms your bundt cake into more of a sheet cake format, which is incredibly practical for potlucks and family gatherings. No fancy slicing required—just cut squares and serve. The first time I made a "bundt cake" this way for a work event, people kept asking for the recipe, completely unbothered that it wasn't ring-shaped.
The baking time usually needs just a slight adjustment—maybe 5 to 10 minutes less than the bundt version because the batter spreads thinner. Keep an eye on it starting around the 35-minute mark if your recipe originally called for 45 minutes in a bundt pan.
Two 9-Inch Round Cake Pans
When I want something that looks a bit more special than a sheet cake, I reach for my round pansF. Two 9-inch rounds hold a combined 11 to 12 cups, which matches most bundt recipes perfectly.
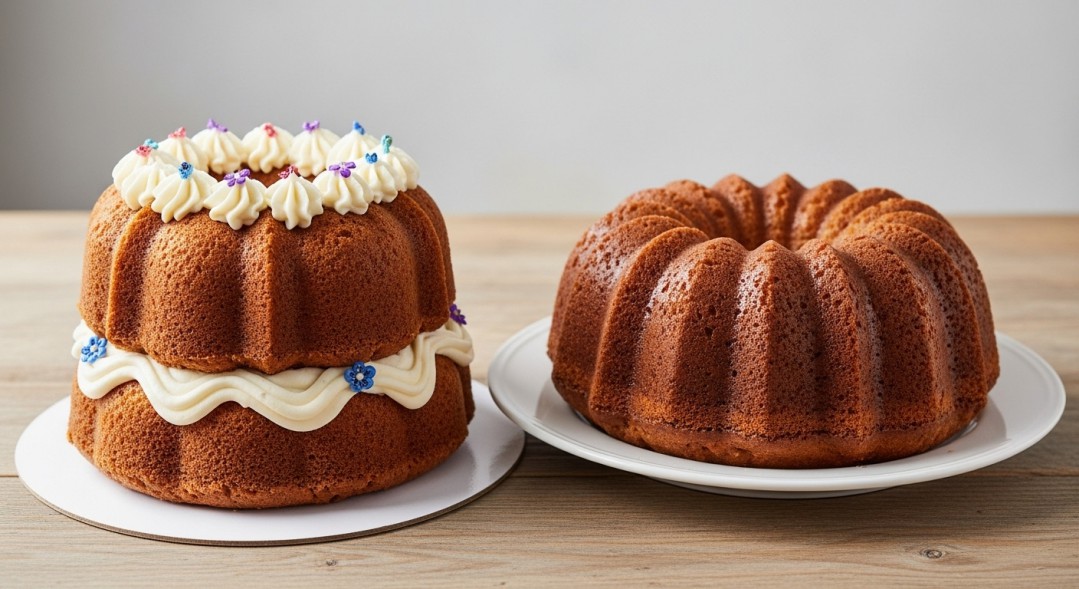
The beauty of this approach is that you can stack them into a layer cake if you want to get fancy, or serve them as two single-layer cakes. I've done the layer cake route for birthdays, and honestly, people are often more impressed than they would be with a bundt. Just add some frosting between the layers and you've elevated your bundt recipe into something that looks bakery-worthy.
Here's my system for dividing the batter evenly: I weigh the total batter on my kitchen scale, then divide by two. I used to just eyeball it, but that led to one layer being noticeably taller than the other—not a good look when you're trying to stack them. The baking time is usually similar to or slightly less than the bundt version, typically around 25 to 35 minutes.
Two 8-Inch Round Cake Pans
If you're working with a smaller bundt recipe, or if 9-inch pans are just what you don't have, 8-inch rounds work beautifully. Together they hold about 8 to 10 cups, which is perfect for those slightly smaller bundt recipes or when you want to intentionally scale down.
I actually prefer this size when I'm baking just for my family. A full 12-cup bundt cake can hang around for days (not that we're complaining), but the 8-inch version feels more reasonable. The layers are a bit taller and more dramatic when stacked, which I think looks gorgeous.
Expect these to take maybe 5 minutes less than 9-inch pans since the batter is a bit shallower.
Tube Pan or Angel Food Cake Pan
If you have one of these, congratulations—you've got the closest thing to a bundt pan without actually having a bundt pan. Tube pans typically hold 12 to 16 cups and feature that all-important center tube for even baking.
The main difference between a tube pan and a bundt pan is that tube pans have straight, smooth sides rather than the decorative fluting. The sides are also usually taller. I've used my angel food pan for bundt recipes several times, and the results are nearly identical to using an actual bundt pan.
One thing to watch: some tube pans have removable bottoms, which is perfect for delicate angel food cakes but can be risky with heavier, greasier bundt batters. I learned this when melted butter started seeping out during baking. Now I wrap the bottom in aluminum foil if I'm using it for anything other than angel food cake.
The baking time should be very close to what the bundt recipe calls for, maybe within 5 minutes either way.
10-Inch Springform Pan
I'll be honest—this isn't my first choice for bundt recipes, but it works in a pinch. A 10-inch springform holds about 10 to 12 cups, so capacity-wise it's spot-on.
The advantage here is the easy release. We all know bundt cakes can be notoriously sticky and difficult to get out of the pan in one piece (I've had my share of cake casualties). With a springform, you just pop open the sides and you're done.
The downside is that springforms are shallower than bundt pans, so your batter will be spread thinner. This means faster baking—usually 10 to 15 minutes less than the original recipe. I also recommend placing the springform on a baking sheet in case any batter leaks through the bottom seal. Trust me on this one—cleaning batter drips off the bottom of your oven is nobody's idea of fun.
How Many Loaf Pans Equal a Bundt Pan?
This is one of the questions I get asked most often by friends who are new to baking substitutions, and honestly, I think loaf pans are one of the best bundt alternatives out there.
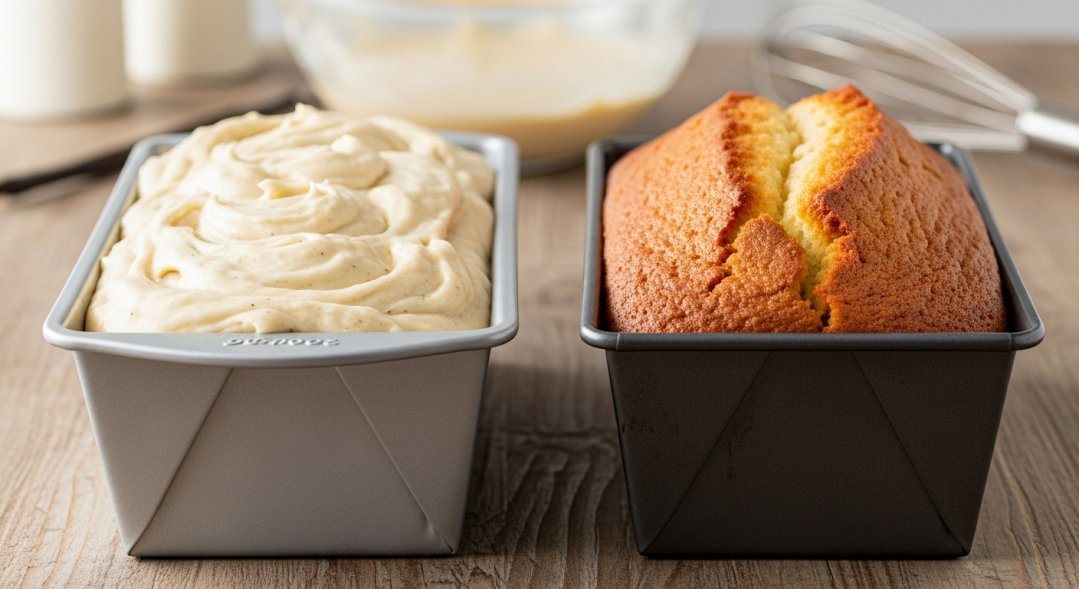
Standard loaf pans come in two main sizes: 8x4 inch pans hold about 4 to 5 cups, while 9x5 inch pans hold roughly 8 cups. A typical 12-cup bundt pan translates to about two 9x5 inch loaf pans. Technically, those two loaf pans give you 16 cups total capacity, so you're working with slightly more volume than the bundt. You could fill them a bit less full, or you might end up with a little extra batter for a few cupcakes (which I never complain about).
If you're using the smaller 8x4 inch pans, you'd need three of them to approximate a 12-cup bundt pan—giving you somewhere between 12 and 15 cups total.
I absolutely love using loaf pans for bundt recipes, especially around the holidays. Individual loaves are perfect for gifting, they freeze beautifully, and they're so much easier to slice and serve than trying to cut neat pieces from a bundt ring. Last Christmas, I made my favorite lemon bundt recipe in four loaf pans and gave them away as gifts. People loved them, and I loved not having to buy fancy packaging.
Baking time for loaf pans typically runs 45 to 60 minutes at the same temperature your bundt recipe calls for, but start checking around the 40-minute mark. The center of a loaf is the last place to set up, so that's where you want to insert your toothpick.
Quick Reference: Bundt Pan Equivalency Chart
I keep this chart on my phone because I reference it constantly. Here's how different pans stack up against a standard 12-cup bundt pan:
9x13 Inch Pan: 14-15 cups capacity. Bake for 5-10 minutes less, check at 35 minutes.
Two 9-Inch Round Pans: 11-12 cups combined. Bake for similar time or 5 minutes less, check at 25 minutes.
Two 8-Inch Round Pans: 8-10 cups combined. Best for smaller recipes. Check at 25 minutes.
Tube or Angel Food Pan: 12-16 cups capacity. Very similar baking time, check at original recipe time.
10-Inch Springform: 10-12 cups capacity. Bake for 10-15 minutes less, check at 30 minutes.
Two 9x5 Inch Loaf Pans: 16 cups combined. Bake for 45-60 minutes, check at 40 minutes.
Three 8x4 Inch Loaf Pans: 12-15 cups combined. Bake for 45-55 minutes, check at 40 minutes.
Here's a pro tip I wish someone had told me earlier: if you're unsure about your pan's capacity, just measure it yourself. Fill it to the brim with water using a measuring cup, keeping track of how many cups it takes. This gives you the exact capacity and takes all the guesswork out of substitutions.
Adjusting Baking Time and Temperature
This is where baking becomes more art than science, and where I've made most of my learning-curve mistakes. The general rule that's never steered me wrong: shallower pans bake faster, deeper pans bake slower.
When you spread bundt cake batter into a wide, shallow 9x13 pan, it has more surface area exposed to heat and less depth for that heat to penetrate. It bakes quicker. When you divide the same batter between deep loaf pans, heat takes longer to reach the center, so baking time increases.
Most of the time, I keep the oven temperature the same as the original bundt recipe—usually 325°F to 350°F for most bundt cakes. However, if I'm using a particularly shallow pan and I'm worried about the top browning too quickly, I'll drop the temperature by 25°F and extend the baking time slightly.
The best advice I can give you is to start checking for doneness earlier than you think you need to. I usually begin testing at 75% of the original baking time. For a recipe that calls for 50 minutes in a bundt pan, I'm checking round layers at 35 minutes and a sheet cake at 40 minutes.
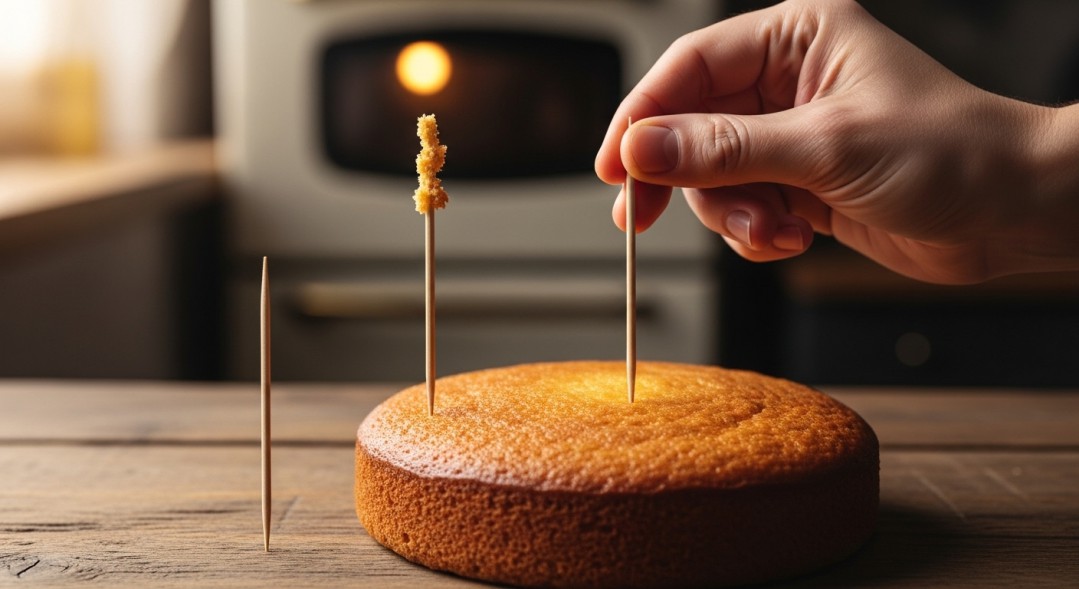
What should you look for? A toothpick or cake tester inserted into the thickest part should come out clean or with just a few moist crumbs—not wet batter. The cake should spring back when you gently press the center. The edges might be pulling away slightly from the sides of the pan. For the truly scientific bakers out there, an instant-read thermometer should register 200°F to 210°F in the center of the cake.
I also keep an oven thermometer in my oven because I learned the hard way that my oven's temperature dial lies to me. It claims to be 350°F but actually runs about 25 degrees cooler. Once I figured that out, my baking success rate skyrocketed.
Tips for Success When Substituting Pans
After all my experiments with bundt alternatives, I've developed a few non-negotiable habits that prevent baking disasters.
First, grease and flour your pans thoroughly, even if they're nonstick. Bundt pans have all those gorgeous ridges and details that can trap cake, but regular pans can be sticky too. I use a pastry brush to spread softened butter into every corner, then dust with flour, tapping out the excess. For chocolate cakes, I use cocoa powder instead of flour so I don't get white residue on my dark cake.
Parchment paper has become my best friend. For round pans, I trace the bottom, cut out circles, and place them in the greased pan before adding batter. For rectangular pans, I create a parchment sling with overhang on two sides, which makes lifting out the whole cake so easy. Loaf pans also benefit from parchment slings—nothing worse than a beautiful loaf that breaks apart when you try to remove it.
Never fill any pan more than two-thirds full. I made this mistake early on with a particularly enthusiastic chocolate bundt recipe in a springform pan, and I watched in horror as batter bubbled over the sides and onto my oven floor. The cake was delicious, but cleaning the oven was not.
If you're adapting a heavily glazed bundt cake recipe, think about how the glaze will work on your substitute pan. That gorgeous cascade of glaze down a bundt's ridges won't happen on a flat sheet cake, but you can still drizzle it on beautifully. For layer cakes, I sometimes thin the glaze slightly and use it as a filling between layers, then pour the rest over the top.
Watch for over-browning, especially on the edges of sheet cakes and loaf pans. If the top is getting too dark but the center isn't done yet, tent the pan loosely with aluminum foil for the remaining baking time. This has saved countless cakes from becoming too crusty on top.
Cooling matters too. I let cakes cool in the pan for 10 to 15 minutes before turning them out onto a cooling rack. This gives them time to set up enough that they won't fall apart, but they're not so cool that they'll stick stubbornly to the pan. The one exception is angel food and chiffon cakes in tube pans—those need to cool completely upside down in the pan.
What if you only have pans that are too small for your recipe? Bake in batches. I've split a bundt recipe between two loaf pans for the main cakes, then made a few cupcakes from the remaining batter. It's not ideal, but it works. Just be sure to keep the unbaked batter at room temperature while the first batch bakes—don't refrigerate it or the leavening can start to lose effectiveness.
When You Shouldn't Substitute
Let me be real with you for a moment: there are times when you really should just use an actual bundt pan or skip the recipe entirely.
If you're making a cake for a special occasion where the presentation is crucial—like a holiday centerpiece or a dessert competition—the distinctive bundt shape might be non-negotiable. I once tried to pass off a round layer cake as "just as good" as the expected bundt at my grandmother's birthday because I didn't have my bundt pan with me. She appreciated the effort, but she definitely noticed, and I heard about it for months.
Some recipes are specifically engineered for the bundt pan's unique heat distribution, particularly very dense, heavy batters like some pound cakes or cakes with lots of fruit or nuts. These can really struggle in regular pans because they need that center tube to bake through properly without the outside becoming too dark.
If the recipe explicitly warns against substitutions or if it's from a bakery that's known for its signature bundt cakes, it's usually best to respect that. They tested it in a bundt pan for a reason.
Making Bundt Recipes Work for You
Here's what I want you to take away from all of this: not having a bundt pan shouldn't stop you from trying amazing bundt cake recipes. I spent years avoiding recipes I really wanted to try because I didn't have the "right" equipment, and that was silly.
The most important factors for successful substitution are matching the pan capacity to your recipe, adjusting baking times based on pan depth and surface area, and testing thoroughly for doneness rather than just trusting the timer. Get those three things right, and your bundt cake will turn out beautifully no matter what pan it's baked in.
Start with a recipe you're comfortable with—maybe a family favorite—and experiment with a different pan. You'll quickly develop a feel for how your oven and your pans work together. I promise it's less intimidating once you've done it a few times.
Your favorite bundt recipe is waiting for you, and you already have everything you need to make it in your kitchen right now. So preheat that oven, grab whatever pans you've got, and let's start baking.
Leave a Reply