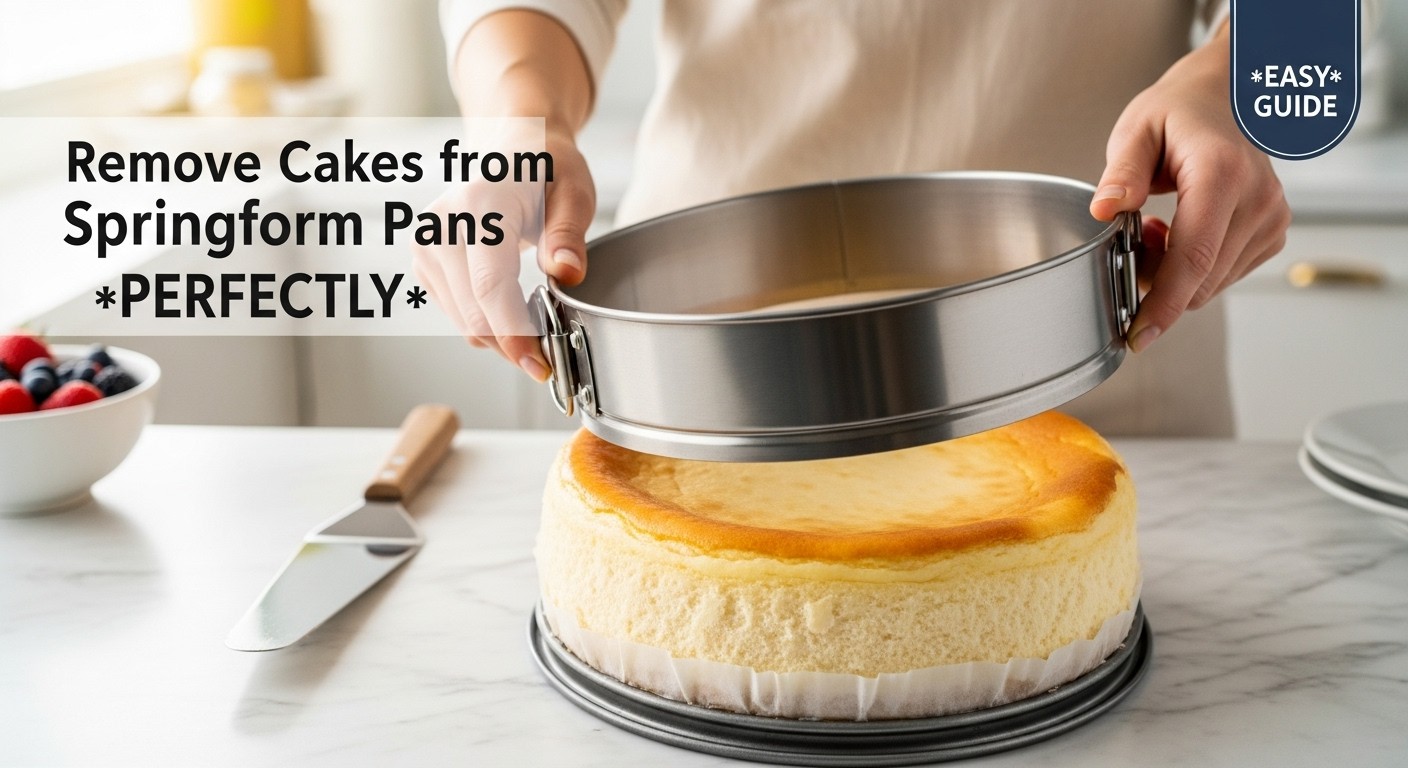
Let me tell you about the first time I tried to remove a cheesecake from a springform pan. I was so excited—the cake looked perfect through the glass oven door, and I'd followed the recipe to the letter. But when I popped open that spring clasp, half the side came off with the pan. I wanted to cry.
If you've ever had a similar experience, you know the frustration. Springform pans are absolute lifesavers for delicate cakes like cheesecakes, tortes, and mousse cakes, but they can be tricky if you don't know the right techniques. The removable sides are genius for serving, but getting that cake off cleanly—especially from the bottom—takes a bit of know-how.
After years of baking (and yes, a few more disasters), I've learned exactly what works and what doesn't. In this guide, I'm sharing everything I wish someone had told me before my first springform pan adventure. Whether you're dealing with a stubborn cheesecake or a delicate flourless chocolate torte, I've got you covered.
Start Before You Even Bake: Prep Your Pan the Right Way
Here's the thing nobody tells you: most springform pan problems start before you even pour in the batter. I learned this the hard way after my third failed attempt at removing a cake in one piece.
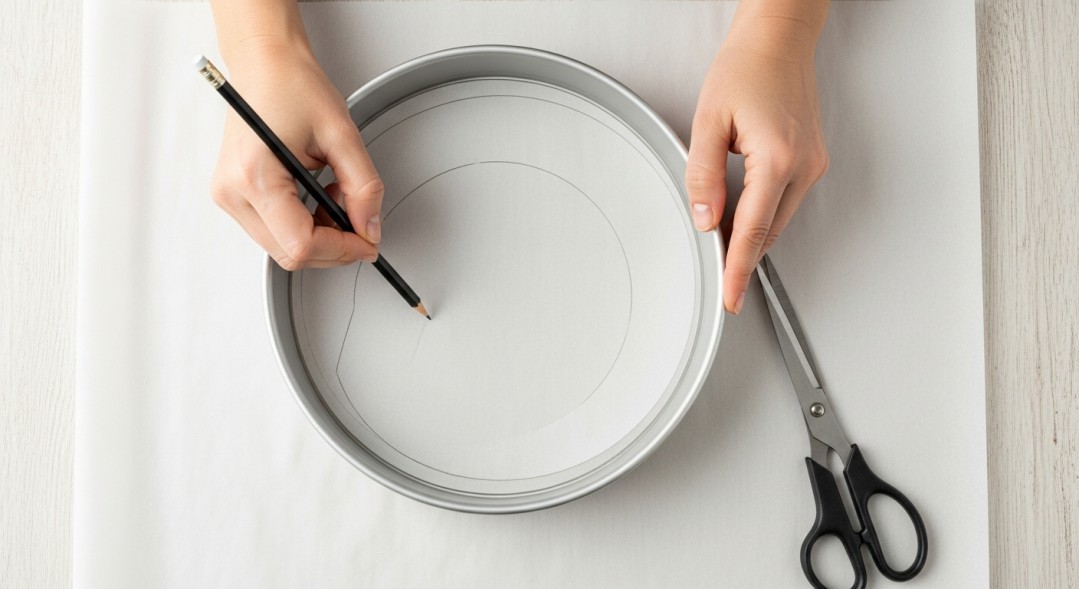
The single best thing you can do is line the bottom of your pan with parchment paper. Cut a circle that fits perfectly inside, and you'll thank yourself later. I trace around the bottom of my pan on the parchment, then cut just inside the line so it fits snugly.
For the sides, I always give them a good coating of butter or non-stick spray. Some bakers swear by the butter-and-flour method (coating the pan with butter, then dusting it with flour), and honestly, it works great for denser cakes. But for cheesecakes, I usually just stick with butter or spray because I don't want that floury residue on my dessert.
One trick I wish I'd known sooner: you can cut a strip of parchment paper for the sides too, letting it hang over the edge by about an inch. This creates little "handles" you can use to lift the cake later. It's especially useful for no-bake cheesecakes that can be super soft.
Removing the Sides: The Easy Part (If You Do It Right)
Okay, so your cake is baked and cooled. This is where patience becomes your best friend. I know you're excited to dig in, but removing a warm cake is asking for trouble. The structure hasn't set yet, and you'll end up with a crumbly mess.
For most cakes, I wait until they're completely cool to room temperature. For cheesecakes, I actually refrigerate them for at least 4 hours (overnight is even better) before attempting removal. The cold makes them firm and much easier to handle.
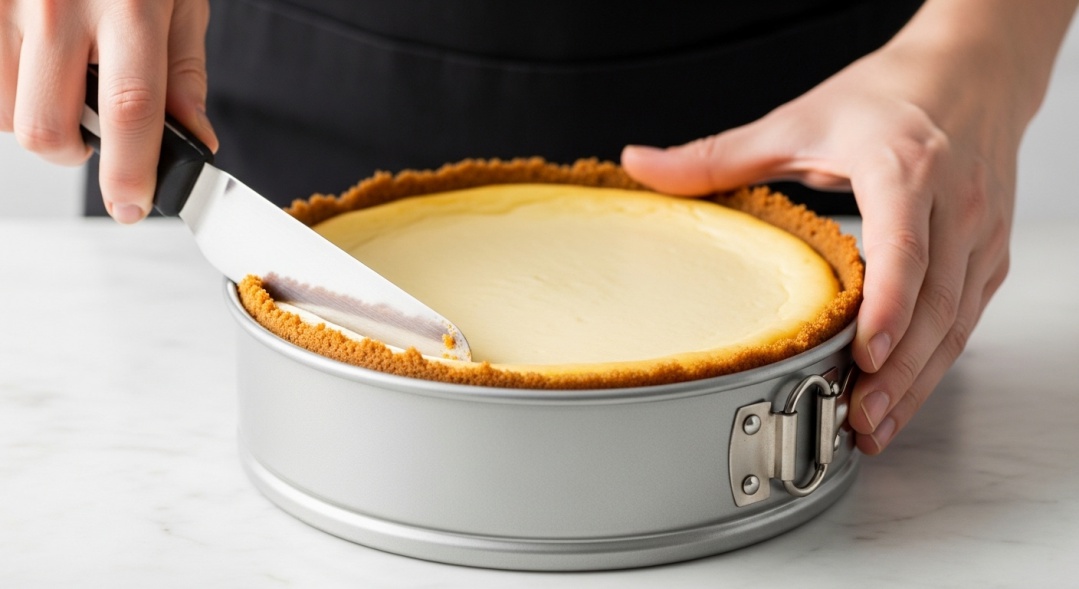
Before you touch that clasp, take an offset spatula or a butter knife and gently run it around the inside edge of the pan. Go slowly and press against the pan, not the cake. I like to dip my spatula in hot water and wipe it dry between passes—the warmth helps release any sticky spots without melting the cake.
Now you can unlatch the spring clasp. I always do this slowly, keeping one hand on top of the clamp so it doesn't spring open too fast. As the ring loosens, you might need to give it a gentle wiggle if the cake is still clinging anywhere.
Once it's unlatched, lift the ring straight up. If you feel resistance, stop. Don't force it. Run your spatula around again in that spot. The sides should lift away cleanly, leaving your beautiful cake sitting on the base.
The Real Challenge: Getting the Cake Off the Bottom
This is where things get interesting. I've tried every method under the sun, and I can tell you that some work way better than others depending on your situation.
The Slide-Off Method (My Personal Favorite)
If you used parchment paper on the bottom—which I really hope you did after reading the prep section—this is your golden ticket. All you need is a large, flat spatula or even a rimless baking sheet.
Place your serving platter next to the cake. Now slide that big spatula between the parchment paper and the pan bottom. You might need to shimmy it back and forth a little to get it started, but the parchment should glide right off.
Once you've got the spatula most of the way under, carefully slide the cake onto your serving plate. I usually do this in one smooth motion, supporting the back edge with my other hand. The first time this worked for me, I literally did a happy dance in my kitchen.
The downside? This really only works well if you have that parchment paper layer. Without it, you're gambling.
Just Serve It on the Base
Can I tell you a secret? Sometimes I don't even remove the cake from the pan bottom. Seriously.
If you're serving the cake at home or bringing it to a casual gathering, leaving it on that metal base is totally fine. I've served dozens of cheesecakes this way, and nobody has ever complained. In fact, it makes transport easier because the base gives you a sturdy platform to work with.
To make it look more intentional, I'll place the base on a slightly larger cake stand or serving platter. You can even disguise the edge with fresh berries, whipped cream rosettes, or whatever garnish fits your cake.
The only real con is that you can't get that pristine, professional look where the cake sits directly on a pretty plate. But honestly? Most people are too busy enjoying the cake to care.
The Two-Spatula Lift (For the Brave)
If you forgot the parchment paper (been there) and really want the cake off the base, this method can work, but it requires a steady hand and ideally a helper.
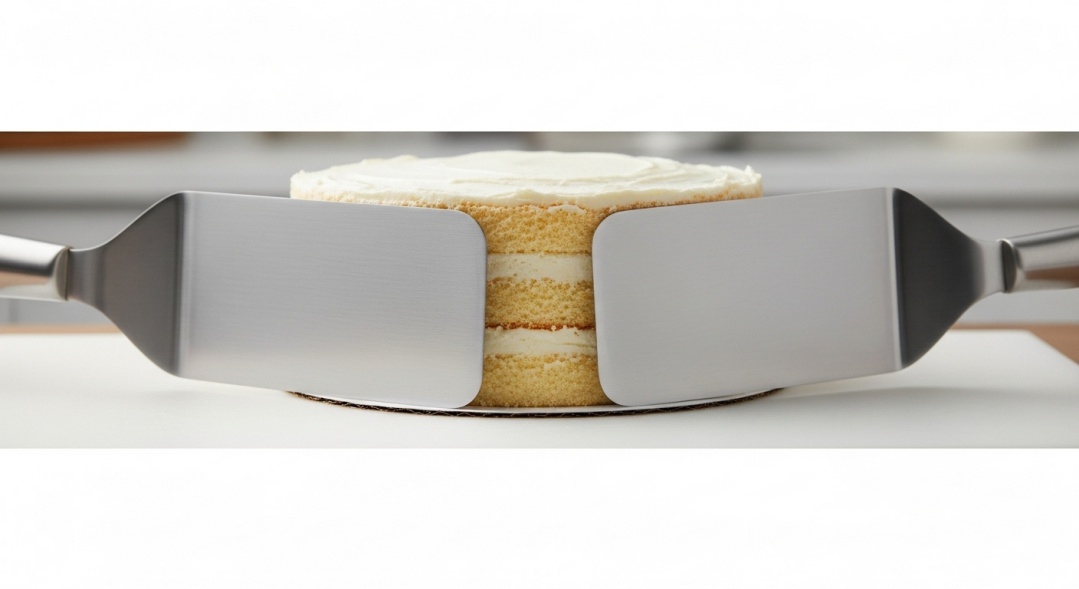
You'll need two or three large, wide spatulas—the kind with thin, flexible blades. Slide them under the cake from different sides, working slowly and carefully. The goal is to get them far enough under that they're supporting the center of the cake.
When you're ready, lift all the spatulas at once (this is where that helper comes in handy) and quickly transfer the cake to your serving plate. I won't lie: my heart races every single time I do this. It works about 90% of the time if you're careful, but that 10% failure rate means I only use this method when I absolutely have to.
The Warm Towel Rescue
Got a cake that's seriously stuck to the bottom? Maybe some caramelized sugar or butter has glued it down? The warm towel method has saved me more times than I can count.
Soak a kitchen towel in hot water, wring it out so it's not dripping, and wrap it around the bottom of the springform pan for about a minute. The gentle heat will soften whatever's causing the cake to stick without melting the whole thing.
After warming it, try the slide-off method again. Usually, this does the trick. Just be careful with delicate cakes that might not respond well to heat—I wouldn't use this on a mousse cake, for example.
Different Cakes, Different Needs
Not all cakes are created equal when it comes to springform pan removal. I've learned that what works for a dense chocolate torte might be a disaster for a Japanese cotton cheesecake.
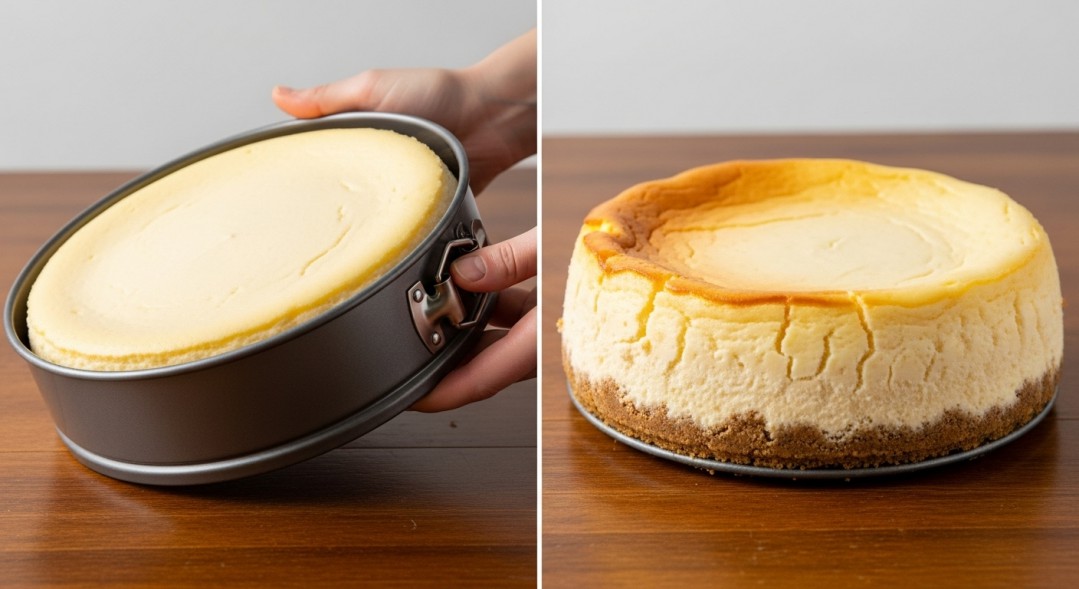
Cheesecakes are probably what you're making most often with a springform pan, right? They're also the trickiest because they're so creamy and delicate. My rule with cheesecakes is simple: refrigerate overnight if possible, and never rush the process. A cold, firm cheesecake is infinitely easier to work with than one that's just barely set.
No-bake cheesecakes and mousse cakes need even more time in the fridge—I usually give them at least 6 hours before attempting removal. These cakes rely entirely on chilling to set their structure, so patience really is essential.
Layer cakes and tortes are generally sturdier, which is nice. But if you're making a multi-layer creation, be aware that the weight can make it trickier to slide off the base. I usually commit to serving these on the pan bottom.
Flourless chocolate cakes are my personal nemesis. They're so incredibly delicate and dense at the same time. For these, I always use parchment paper and usually opt to serve directly on the base because they're just too precious to risk.
Mistakes I've Made So You Don't Have To
Let me share some painful lessons from my baking journey so you can avoid the same heartbreak.
The biggest mistake? Removing the pan while the cake is still warm. I know it's tempting—the cake smells amazing, and you want to see your handiwork. But I promise you, waiting is worth it. Warm cakes are structurally weak and will fall apart or stick like crazy.
Another classic error is not loosening the edges before opening the clasp. I destroyed a beautiful raspberry cheesecake this way once. The sides pulled away chunks of cake because I'd been too impatient to run a knife around first. Learn from my pain.
Using sharp knives to loosen the edges seems logical, but it's actually a bad idea. You might accidentally cut into your cake. A butter knife with a rounded edge or an offset spatula is much safer and more effective.
I've also learned not to force the spring mechanism. If it's not opening smoothly, there's a reason—usually, the cake is still stuck somewhere. Forcing it can warp your pan or damage the cake.
Pro Tips That Actually Make a Difference
After all my trial and error, here are the tricks that consistently work for me.
The parchment paper overhang I mentioned earlier? Game changer. Those little paper handles make lifting so much easier, especially for softer cakes. I cut my parchment strips about 2 inches wide and long enough to go around the pan with a couple inches of overlap.
Here's something that might sound weird: I sometimes pop my cheesecake in the freezer for 30 minutes before removing it from the pan. The brief freeze makes it super firm without actually freezing it solid, which makes handling it much safer. Let it thaw in the fridge afterward, and nobody will know the difference.
Investing in a good offset spatula was one of the best decisions I made for my baking. The angled blade lets you get right against the pan without your knuckles hitting the cake. Mine cost about twelve dollars and has lasted for years.
If your cake does crack during removal—and it happens to everyone—don't panic. Fresh fruit, chocolate ganache, whipped cream, or even a dusting of powdered sugar can hide a multitude of sins. I've had cracks that looked disastrous turn into beautiful decorated cakes once I added the finishing touches.
For presentation, if you must serve on the pan bottom but want it to look nicer, place a doily or decorative cake circle under the pan before putting it on your cake stand. It makes the metal base much less obvious.
You've Got This
Removing a cake from a springform pan doesn't have to be stressful once you know the tricks. The key things I want you to remember: prep your pan with parchment paper before baking, let your cake cool (or chill) completely, loosen those edges before opening the clasp, and don't be afraid to serve the cake on the base if that's the safest option.
I still remember the first time I successfully removed a cheesecake in perfect condition. It felt like a legitimate accomplishment, and honestly, it kind of was. Baking is as much about technique as it is about following recipes, and mastering your tools makes everything easier.
These days, I barely think twice about springform pans. They've become reliable friends in my kitchen instead of sources of anxiety. With the techniques I've shared here, I'm confident you'll feel the same way soon.
Now go bake something delicious, and don't worry—you're going to nail the removal. And if you don't? Well, that's what whipped cream is for.
Leave a Reply