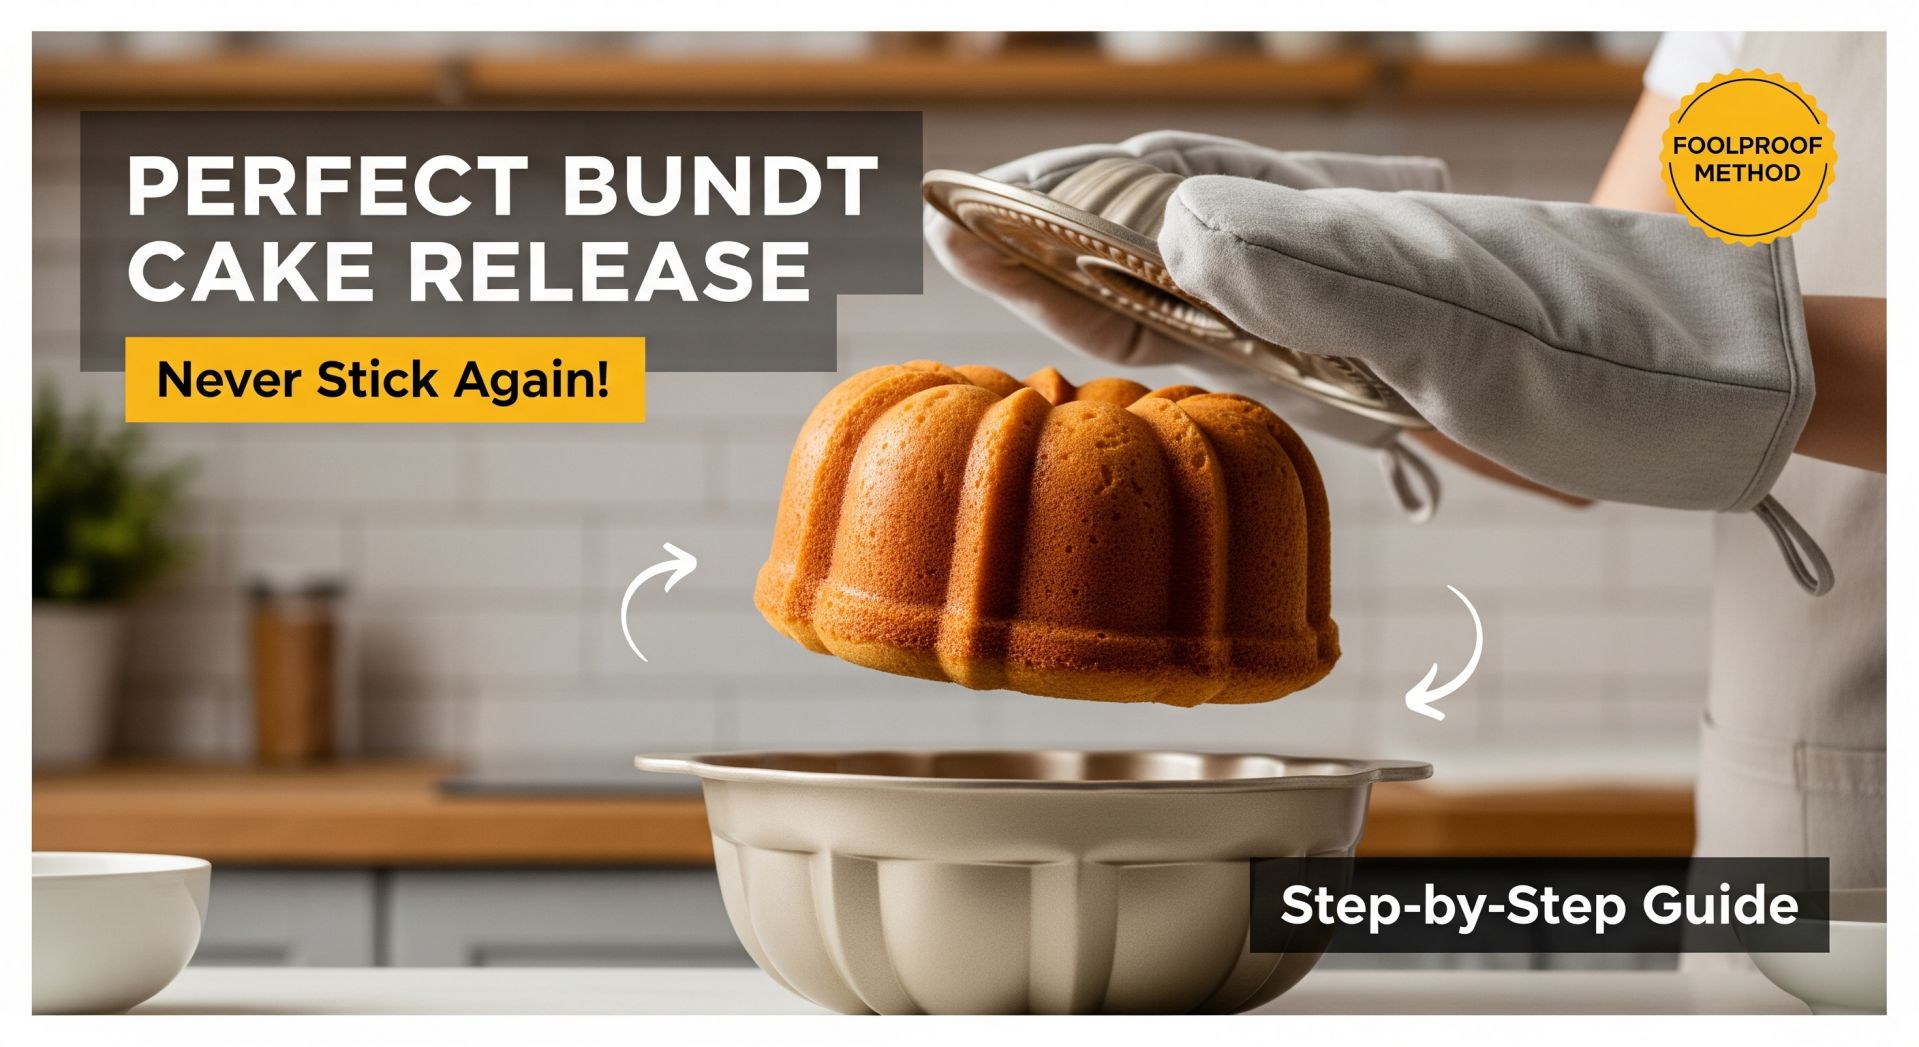
There's nothing quite like the heart-stopping moment when you flip your beautiful bundt cake over, only to have half of it stick stubbornly to the pan. I learned this the hard way during my first attempt at making my grandmother's famous lemon bundt cake for a family gathering. What should have been a stunning centerpiece turned into a crumbling mess that looked more like abstract art than dessert.
After years of bundt baking and plenty of trial and error, I've discovered that learning how to get a cake out of a bundt pan successfully is both an art and a science. The good news? Once you master the technique, you'll never have to face that devastating moment of bundt cake failure again.
Why Bundt Pans Are Tricky
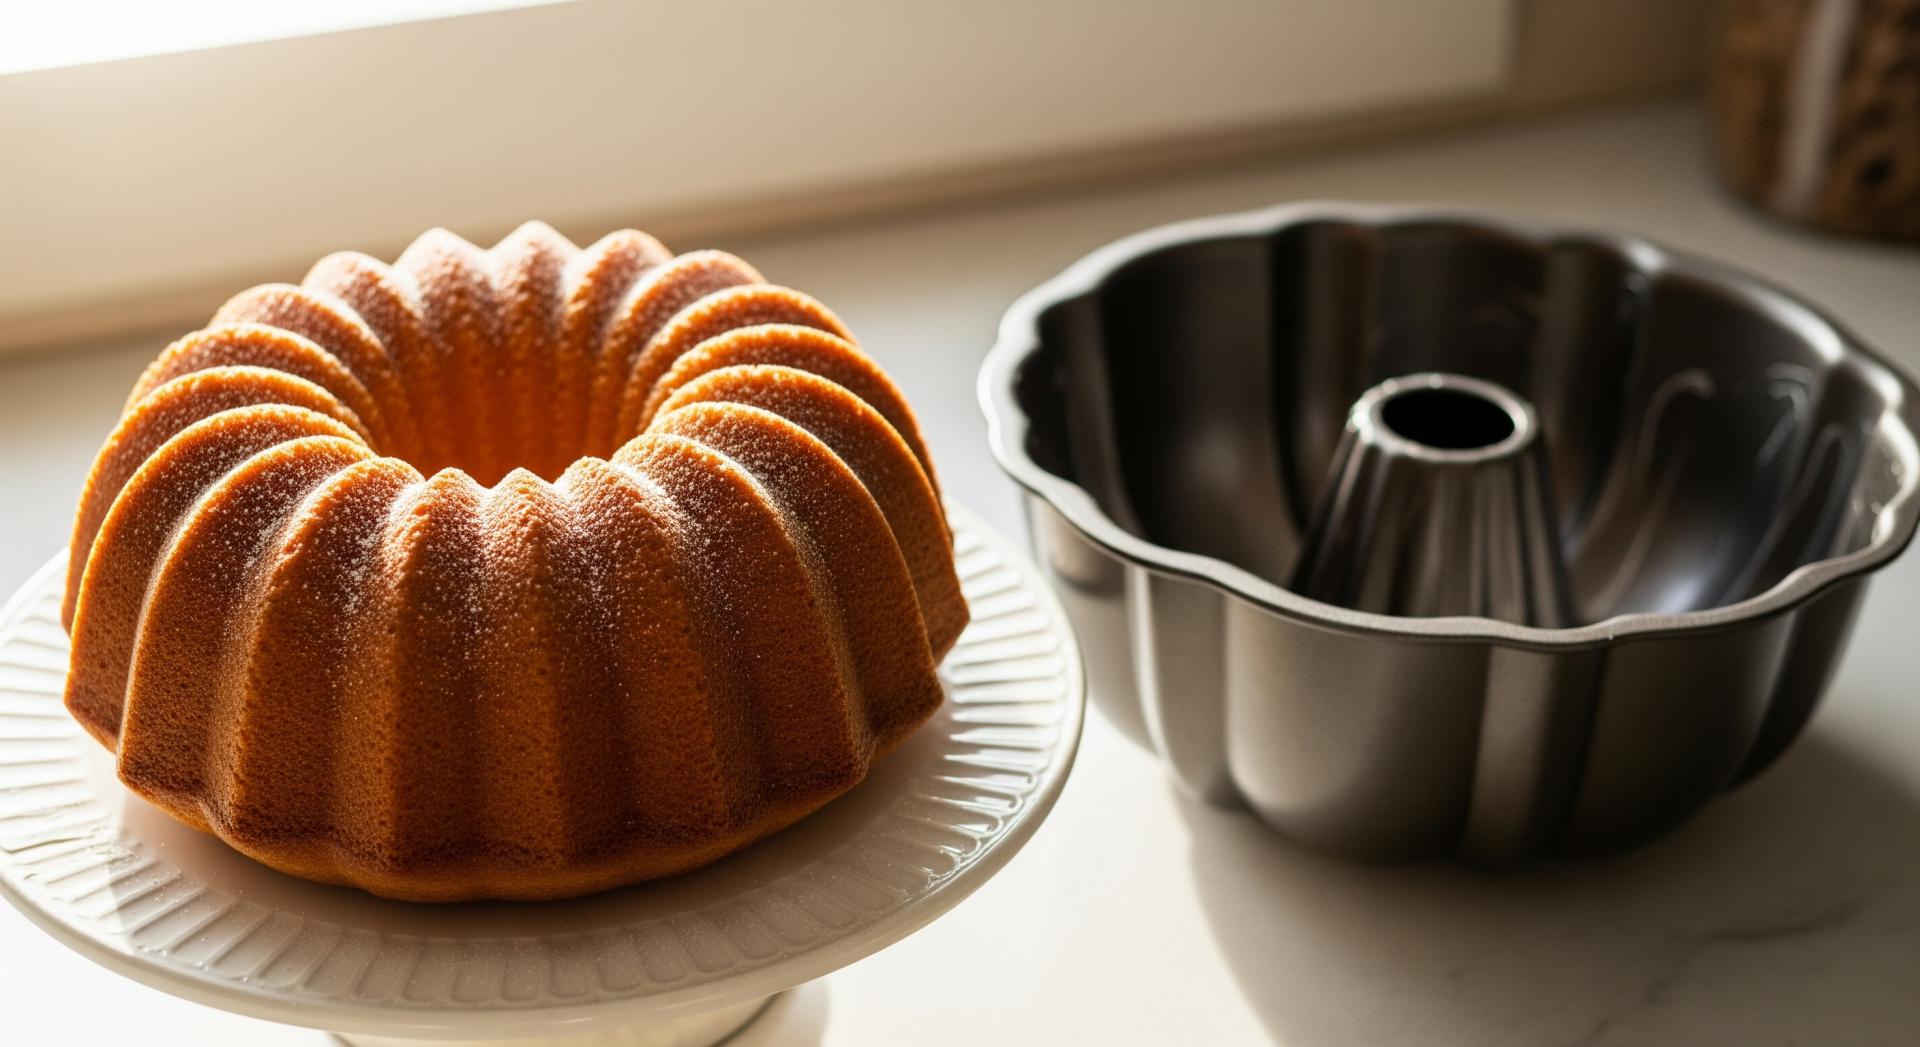
Bundt pans are notorious for being challenging to work with, and there's a good reason for this. Unlike regular cake pans with smooth surfaces, bundt pans feature intricate ridges, curves, and detailed patterns that create more surface area for your cake to stick to. These decorative elements that make bundt cakes so visually stunning are also what make bundt cake release so problematic.
The problem becomes even more complex when you consider that most bundt recipes produce dense, moist cakes that naturally want to cling to every nook and cranny of the pan. I've found that even experienced bakers sometimes struggle with releasing cake from pan, especially when they're trying new recipes or working with unfamiliar pan designs.
Essential Preparation: The Foundation of Success
Choosing the Right Pan
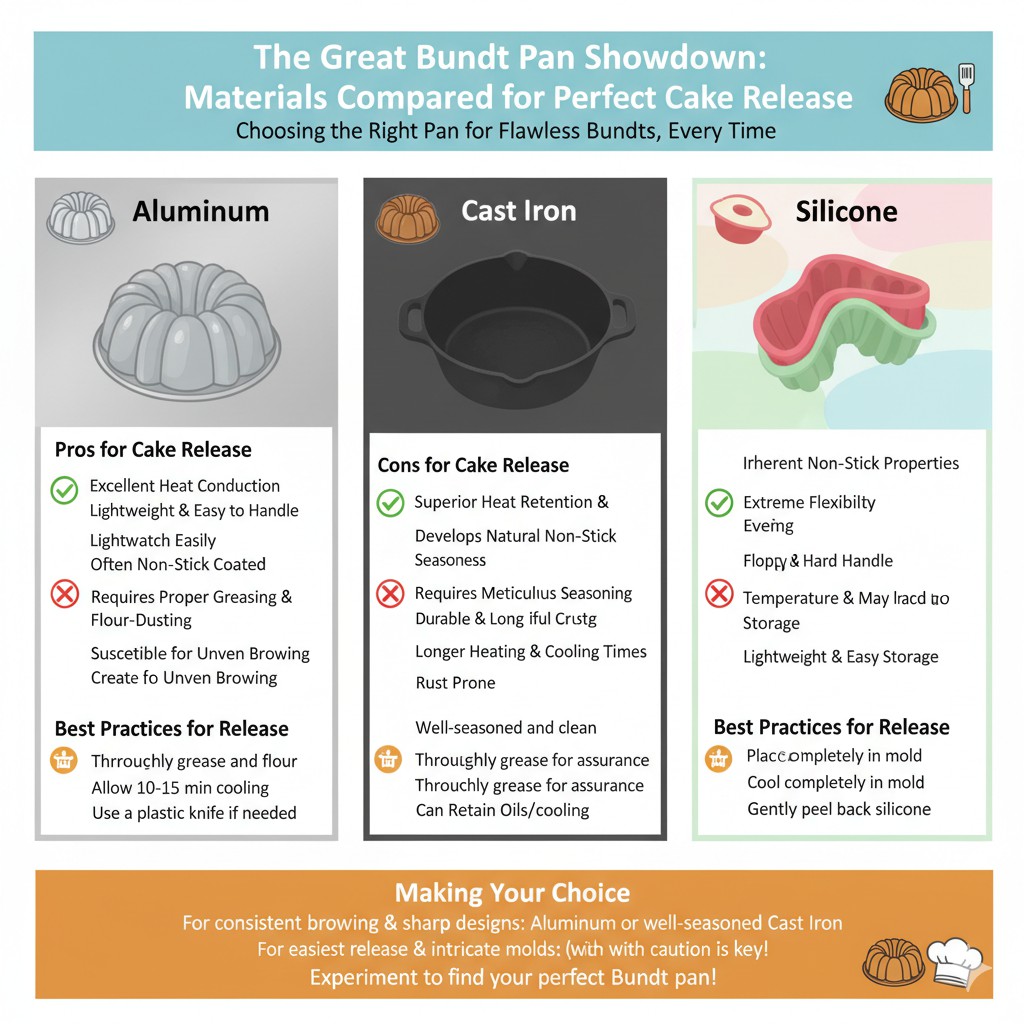
Not all bundt pans are created equal when it comes to non-stick properties. Through my experience, I've learned that heavy-duty aluminum pans with a good non-stick coating work best for beginners. While I love the look of vintage or ornate pans, they often require more advanced techniques to prevent sticking.
Nordic Ware pans, in particular, have become my go-to choice. Their non-stick coating is reliable, and the weight of the pan ensures even heat distribution. However, even the best pans require proper preparation to guarantee success.
The Art of Greasing a Bundt Pan
Here's where many home bakers go wrong: they think a quick spray of cooking oil or a light butter coating will suffice. Trust me, it won't. Proper greasing a bundt pan requires attention to detail and the right products.
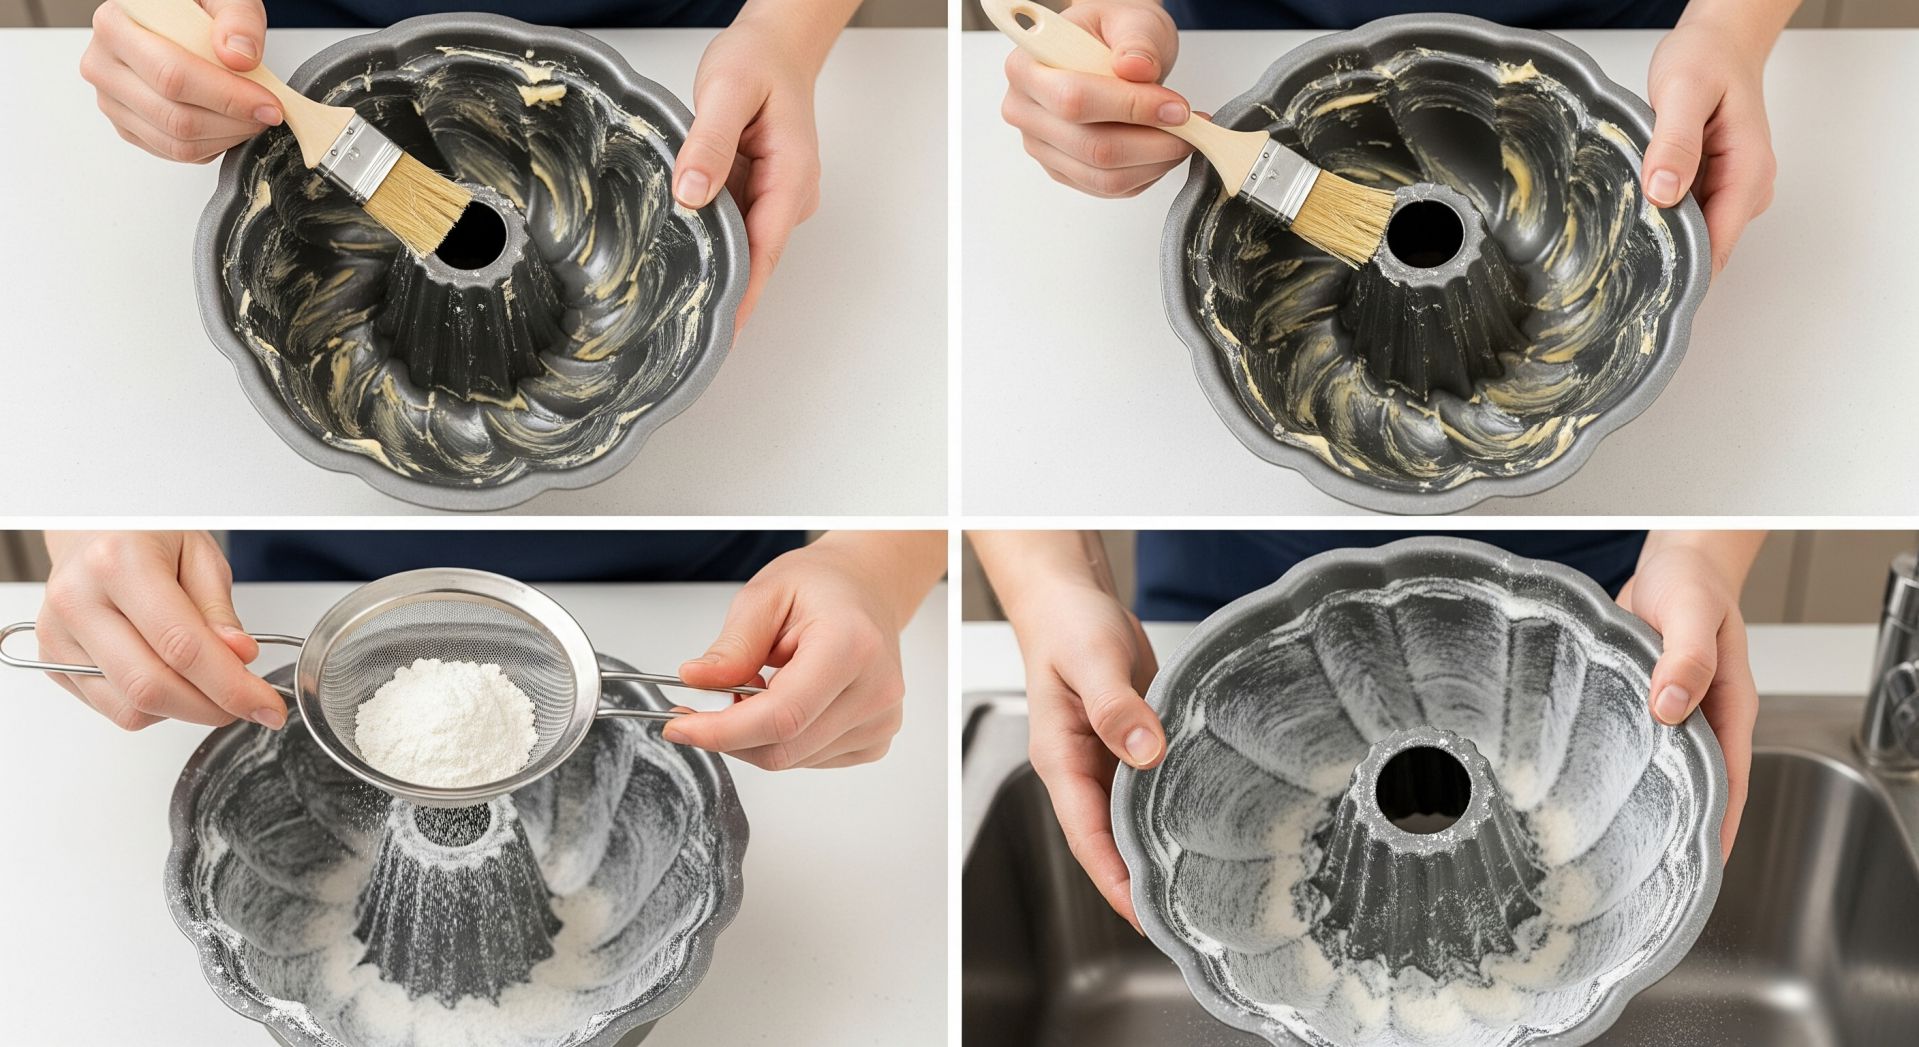
My foolproof method involves using a pastry brush to apply melted butter to every single ridge and crevice of the pan. I'm talking about getting into every decorative swirl and pattern. This process takes patience, but it's absolutely critical for success. After brushing with butter, I use non-stick baking spray as an additional layer of insurance.
Some bakers swear by shortening instead of butter, claiming it has superior non-stick properties. While shortening does work well, I prefer butter because it adds a subtle flavor enhancement to the cake's exterior and creates that beautiful golden crust we all love.
The Flour Factor: Your Secret Weapon
After greasing comes the crucial step that many recipes mention but don't emphasize enough: flouring a bundt pan. This isn't just about dusting the pan lightly with flour. You need to coat every surface thoroughly, then tap out the excess.
I use a technique I learned from a professional baker: after flouring, I actually refrigerate the prepared pan for about 15 minutes before adding the batter. This helps set the butter-flour coating and creates an even more reliable release surface.
For chocolate bundt cakes, I substitute cocoa powder for flour during this step. This prevents the white flour residue that can mar the appearance of dark cakes and actually enhances the chocolate flavor.
Timing Is Everything: The Cooling Process
One of the biggest mistakes I made early in my bundt baking journey was trying to remove the cake too soon. How to unstick bundt cake successfully depends heavily on proper timing during the cooling process.
Here's the method that has served me well: immediately after removing the cake from the oven, I place the pan on a wire cooling rack and let it cool for exactly 10 minutes. Not 5 minutes, not 15 minutes, but 10 minutes. This allows the cake to set slightly while still being warm enough to release easily.
During this cooling period, the cake continues to cook slightly from residual heat, and the structure firms up just enough to hold together during the flip. If you wait too long, the cake cools completely and can stick to the pan. If you flip too early, the cake might break apart from being too soft.
The Flip: Mastering the Release Technique
When the 10-minute cooling period is up, it's time for the moment of truth. I place a wire cooling rack directly on top of the bundt pan, then quickly and confidently flip the entire setup over. The key word here is "confidently" – hesitation can lead to uneven flipping and potential breakage.
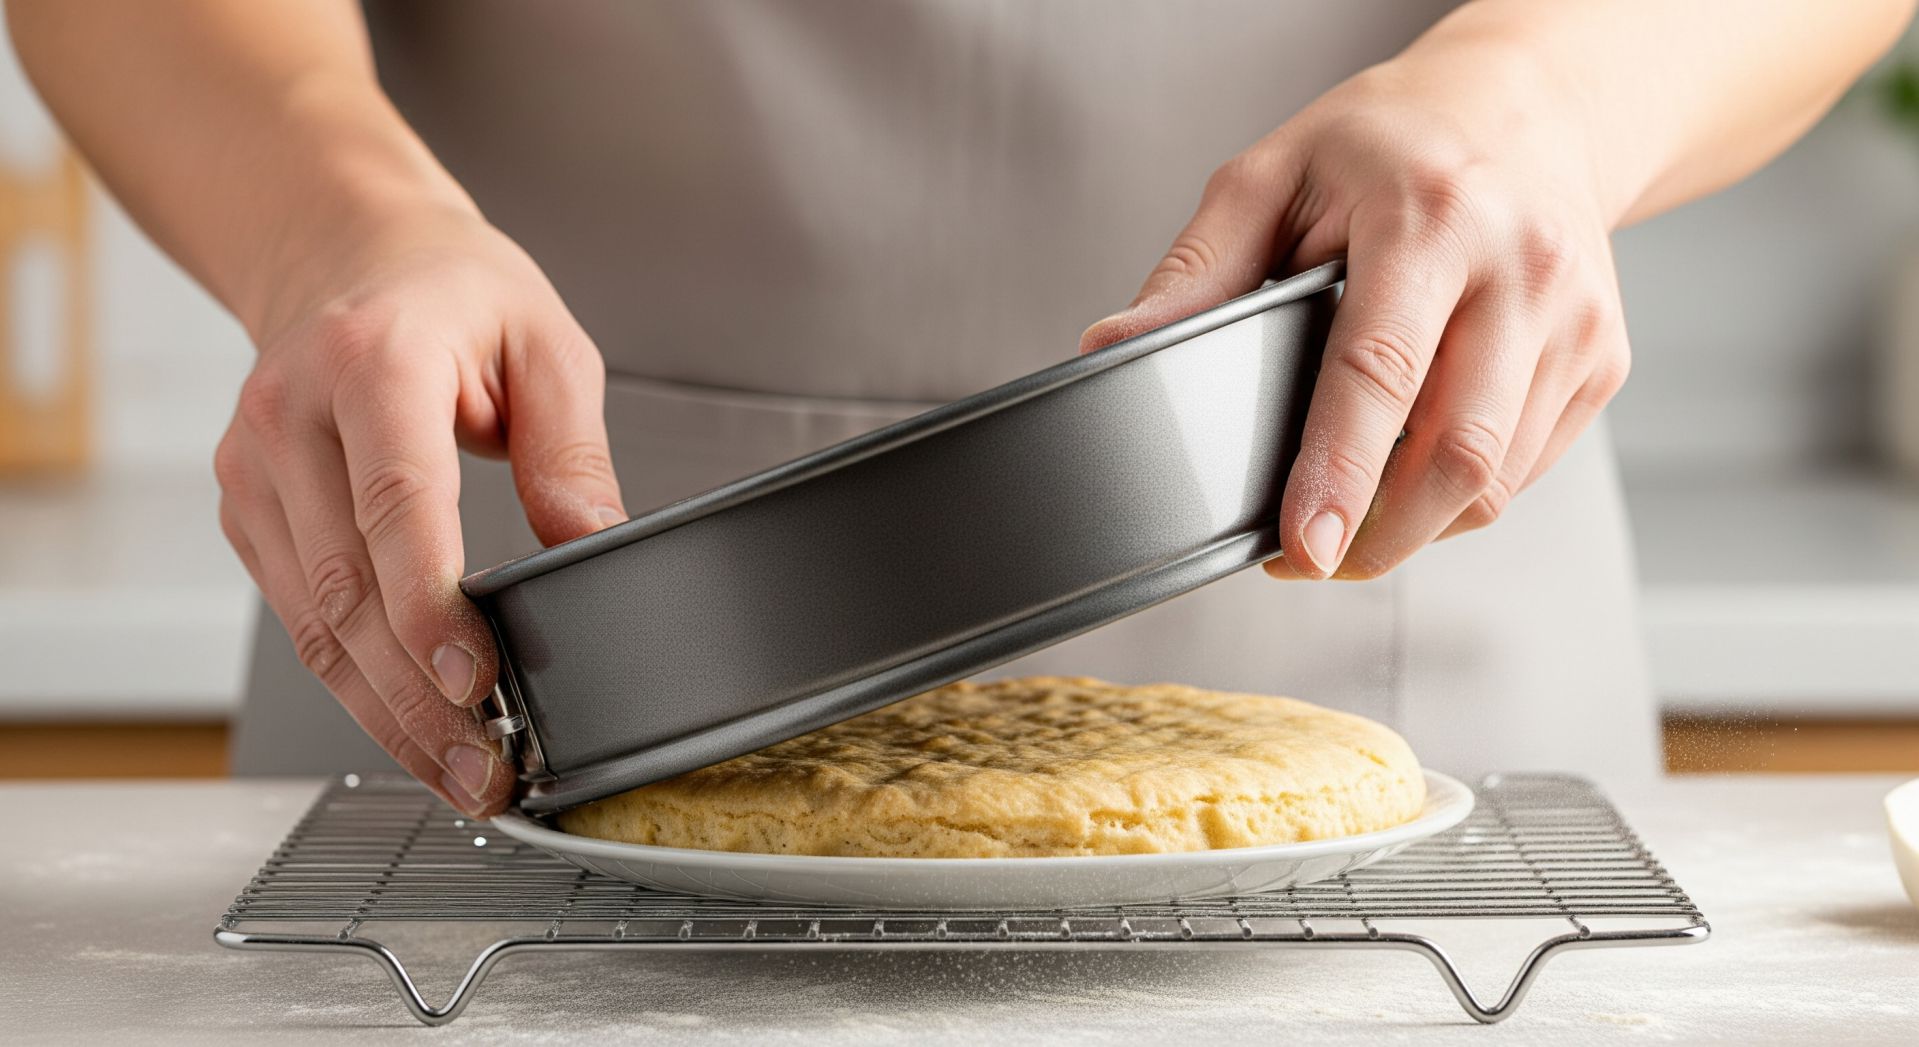
After flipping, I don't immediately lift the pan. Instead, I let it sit inverted for about 2 minutes, allowing gravity to help with the release. Then, I gently lift the pan straight up. If you hear a slight "whoosh" sound, that's good – it means the cake is releasing properly.
Sometimes, despite perfect preparation, a small section might stick. When this happens, I gently tap the bottom of the pan with a wooden spoon, working my way around the stuck area. This technique has saved many cakes that seemed doomed to fail.
Troubleshooting Common Problems
When Part of the Cake Sticks
Even with perfect technique, sometimes small pieces of cake remain in the pan. Don't panic! I carefully remove these pieces and use a small offset spatula to gently press them back into place on the cake. Once the cake is cooled and glazed, these repairs become virtually invisible.
Dealing with Sticky Spots
If you notice areas where the cake surface looks rough or torn, these are usually spots where the cake tried to stick but released with some surface damage. A good glaze or dusting of powdered sugar can camouflage these imperfections beautifully.
Advanced Tips for Bundt Pan Success
After years of perfecting my bundt cake technique, I've discovered several professional tricks that make releasing cake from pan virtually foolproof.
First, I always bring my ingredients to room temperature before mixing. Cold ingredients can create a denser batter that's more likely to stick. Second, I avoid overmixing the batter, which can develop too much gluten and create a cake that clings tenaciously to the pan.
For particularly intricate pan designs, I sometimes use a combination of butter and vegetable shortening for greasing. The shortening fills in the tiny details while the butter provides flavor and browning.
Maintenance and Pan Care
Proper care of your bundt pan significantly impacts future bundt cake release success. I never use abrasive cleaners or steel wool on my non-stick pans. Instead, I soak them in warm, soapy water and use a soft sponge to clean gently.
For stubborn residue, I make a paste with baking soda and water, let it sit for 15 minutes, then scrub gently. This method removes buildup without damaging the non-stick surface.
I also make sure my pans are completely dry before storing them. Any remaining moisture can lead to rust or degradation of the non-stick coating over time.
Final Thoughts
Learning how to get a cake out of a bundt pan successfully transformed my baking confidence completely. What once felt like a risky gamble now feels like a reliable technique I can count on every time.
Remember, the key elements for success are thorough pan preparation, proper timing, and confident technique. Don't rush the process, and don't be discouraged if your first few attempts aren't perfect. Like any baking skill, mastering bundt pan tips takes practice.
The investment in time and attention to detail pays off tremendously when you can consistently produce beautiful, intact bundt cakes that look as professional as they taste. Your family and friends will be impressed, but more importantly, you'll have the confidence to tackle any bundt recipe that catches your eye.
With these techniques in your baking arsenal, those heart-stopping moments of cake-flipping anxiety will become a thing of the past, replaced by the satisfaction of watching a perfect cake release cleanly every single time.
Leave a Reply