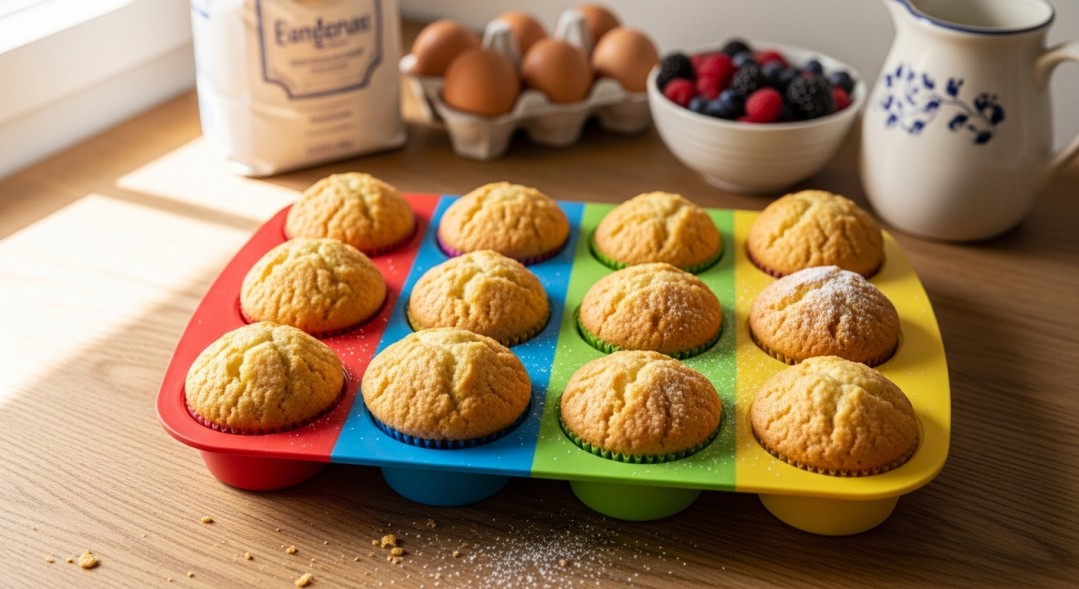
When I first bought my silicone muffin pan three years ago, I honestly thought it was just another kitchen gadget that would end up collecting dust in my cabinet. Boy, was I wrong. After hundreds of batches of muffins, cupcakes, and even savory egg cups, I've learned everything there is to know about these flexible baking tools. Let me share what I've discovered through real experience, not just theories from a cookbook.

Why I Switched to Silicone (And Why You Might Want To)
My journey with silicone bakeware started when my old metal muffin tin finally gave up after years of scrubbing off baked-on batter. I was skeptical at first—how could something so floppy and weird-looking actually work? But after researching whether are silicone muffin pans safe, I learned they're made from food-grade silicone that can withstand high temperatures without leaching chemicals into your food. That sealed the deal for me.
The first time I used my silicone pan, I was amazed at how easily the muffins popped out. No more mangled tops or bottoms stuck to the pan. But I quickly learned that using a silicone muffin pan isn't exactly the same as using metal. There are tricks to master, and I'm going to walk you through everything I wish someone had told me on day one.
Getting Started: What You Need to Know About How to Use Silicone Muffin Pan
The Essential First Steps
Before you even preheat your oven, there's one question everyone asks: do you have to grease silicone muffin pans? Here's the truth from my experience—it depends. Silicone is naturally non-stick, and technically you don't have to grease it. However, I've found that a light coating of cooking spray or butter makes life so much easier, especially with stickier batters like chocolate chip or blueberry muffins.
For the first few uses, I'd definitely recommend a light greasing until you get a feel for how your particular pan performs. Some cheaper silicone pans aren't as non-stick as they claim to be. So when people ask do you have to spray silicone muffin pans, my answer is: not always, but it doesn't hurt and often helps.

Preparing Your Pan Properly
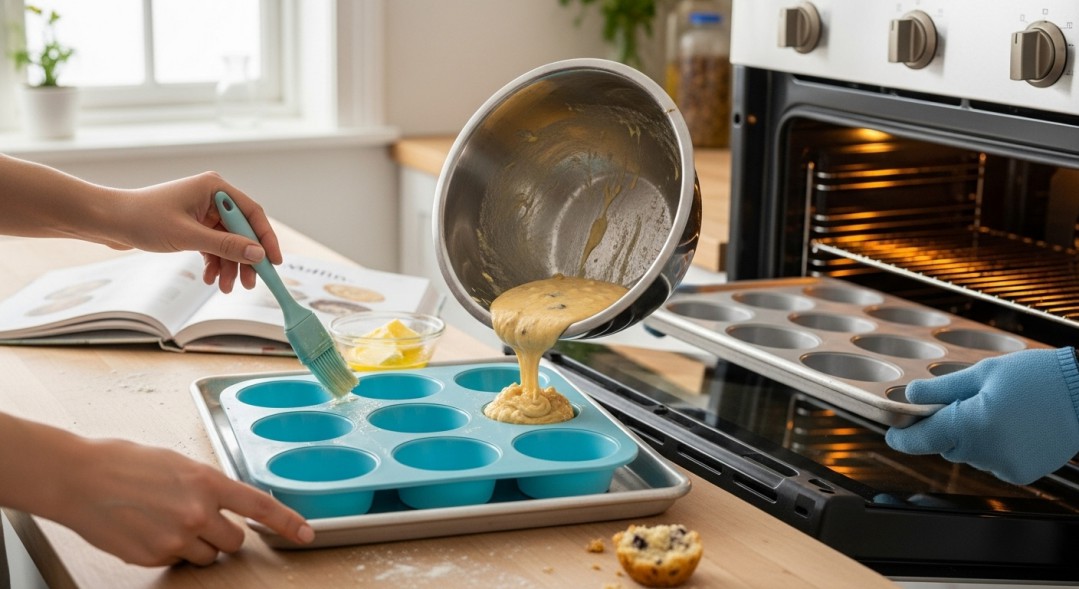
Here's something crucial I learned the hard way: always place your silicone muffin pan on a sturdy baking sheet before filling it. Trust me on this. The first time I tried carrying a floppy, filled silicone pan to the oven, I ended up with batter sloshing everywhere. The flexibility that makes these pans great for removing baked goods makes them terrible for transport when they're full.
I place my silicone pan on a rimmed baking sheet, grease lightly if needed, then fill each cup about two-thirds full—just like you would with a metal pan. This setup gives you stability and makes it so much easier to move things around.
The Baking Process: Temperature and Timing Matters
One of the most common questions I get asked by friends is: can you put a silicone muffin pan in the oven? Absolutely yes! Quality silicone bakeware is oven-safe up to temperatures ranging from 400°F to 500°F, depending on the brand. I've baked everything from delicate cupcakes at 325°F to crusty cornbread muffins at 425°F without any issues.
However, here's something important about timing. When people wonder do silicone muffin pans take longer to bake, the answer is sometimes yes. Silicone doesn't conduct heat as efficiently as metal, which means your muffins might need an extra two to five minutes in the oven. I've learned to check for doneness starting at the recipe's suggested time, then add a couple minutes if needed. The toothpick test is your best friend here.
My Baking Temperature Tips
I typically bake at the same temperature the recipe calls for, but I keep a closer eye on things toward the end. The edges won't brown as much as they would in a metal pan, so don't rely solely on visual cues. Instead, touch the top of a muffin gently—it should spring back when done. After baking hundreds of batches, I've developed this instinct, but it took some trial and error.
The Best Part: How to Remove Muffin from Silicone Pan
This is where silicone truly shines. Let your muffins cool in the pan for about five minutes after removing from the oven. Then comes the satisfying part: gently push up from the bottom of each cup, and the muffin pops right out. It's oddly satisfying, honestly.
If a muffin is being stubborn, I've found that gently pulling the edges of the silicone cup away from the muffin first helps release it. Never use a knife or sharp object to pry them out—you'll damage your pan. The flexibility of silicone means you can really manipulate it to release your baked goods without violence.
Sometimes I flip the entire pan over onto a cooling rack and give the bottom a gentle push on each cup. They slide out like magic. This method works especially well for mini muffins, which can be tedious to remove individually.
Comparing Options: Are Silicone Muffin Pans Better Than Metal?
After using both extensively, I can say each has its place. Metal pans give you crispier edges and more traditional browning. They're also more stable and feel more substantial. But silicone wins hands-down for easy release, storage (they're flexible!), and cleanup.
If you're someone who makes muffins once a month and hates scrubbing pans, silicone is your answer. If you're a serious baker who wants that perfect golden-brown exterior, metal might suit you better. I actually keep both in my kitchen and choose based on what I'm making. For everyday muffins, breakfast egg cups, or anything I'm making with kids, silicone is my go-to.
Cleaning and Maintenance: Keeping Your Pan in Top Shape
Here's great news: are silicone muffin pans dishwasher safe? Yes, most of them are, and that's how I clean mine 90% of the time. Just pop it on the top rack and you're done. The high heat of the dishwasher doesn't damage quality silicone.
But sometimes you'll need to tackle tougher situations. When I'm dealing with particularly greasy residue or that weird film that can develop over time, I hand wash with hot, soapy water and a soft sponge. For those wondering how to clean silicone muffin pans when they get really grimy, here's my secret: make a paste of baking soda and dish soap, scrub gently, then rinse thoroughly. This removes any stubborn grease or odors.
One thing I've noticed is that silicone can absorb odors over time, especially if you use it for savory items like mini quiches. To refresh it, I occasionally soak my pan in a mixture of white vinegar and water for thirty minutes, then wash normally. Works like a charm.
Storage Tips and Long-Term Care
The flexibility of silicone is amazing for storage. I can fold my muffin pan in half and tuck it into a drawer, which is impossible with metal. Just make sure it's completely dry before storing to prevent any mildew or odors from developing.
After three years of regular use, my silicone pan still looks nearly new. No rust, no scratches, no peeling coating. That durability has made it worth every penny of the initial investment.
Final Thoughts: Is Silicone Right for You?
Learning how to use silicone muffin pan effectively has genuinely changed my baking routine. The easy release, simple cleanup, and space-saving storage make it perfect for busy home bakers like me. While there's a slight learning curve with baking times and the initial floppiness, these are minor inconveniences compared to the benefits.
If you're still using that old metal pan that makes you wrestle with stuck muffins, give silicone a try. Just remember: support it with a baking sheet, maybe give it a light greasing, adjust your baking time slightly, and enjoy the easiest muffin removal of your life. Your future self will thank you when you're not scraping baked-on batter at midnight.
Leave a Reply