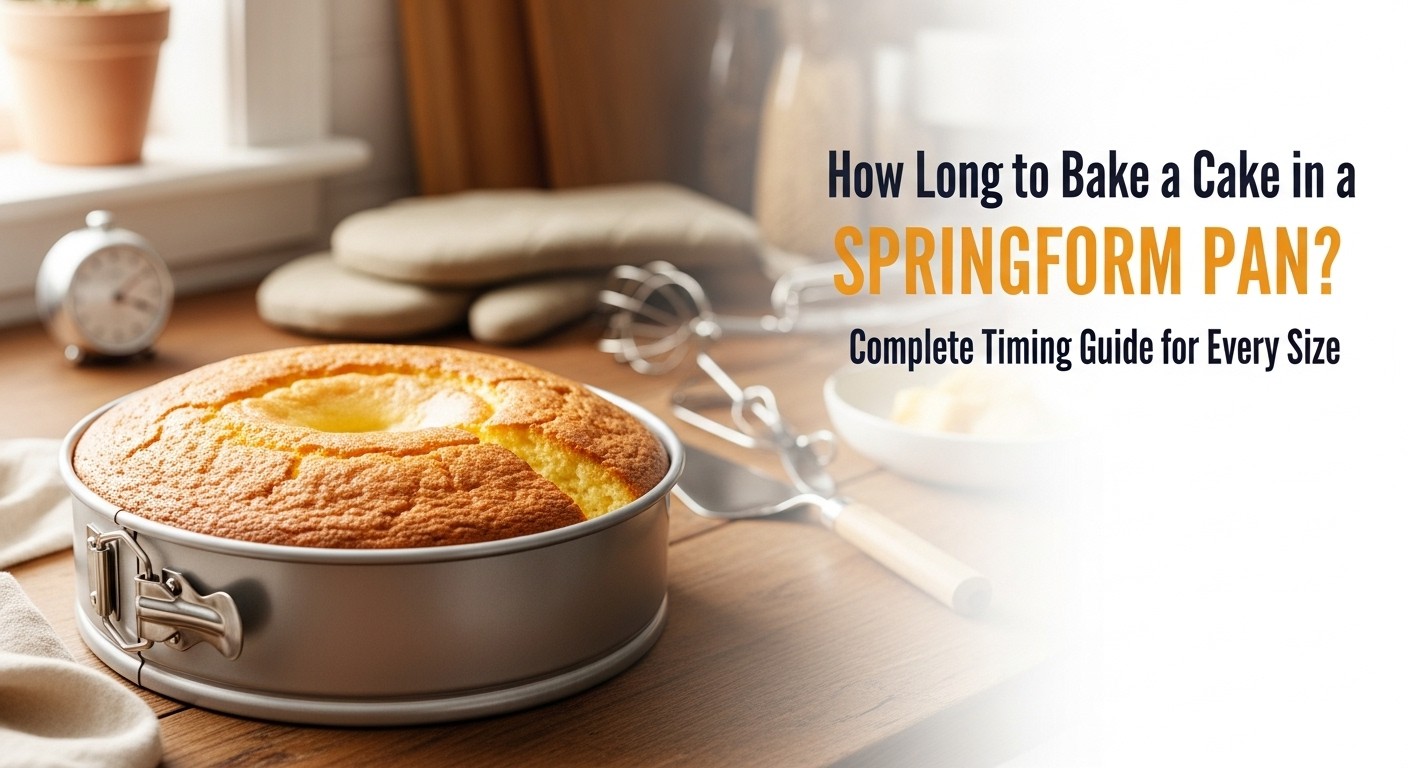
We've all been there. You've spent the afternoon carefully measuring ingredients, creaming butter and sugar to perfect fluffy peaks, and folding everything together with the gentle touch of a pastry chef. You slide your beautiful batter into that trusty springform pan, set your timer, and wait. But then comes that nagging question that's probably brought you here: How long does this thing actually need to bake?
I learned this lesson the hard way during my sister's birthday last year. I confidently threw a gorgeous chocolate cake into my 10-inch springform pan, set the timer for the 30 minutes my regular recipe called for, and proceeded to get distracted by party decorations. When I finally checked on it, the edges were dark and crusty while the center jiggled like jello. Not exactly the Instagram-worthy dessert I'd planned.
Here's the thing about springform pans: they're absolute lifesavers for cheesecakes and delicate layered desserts, but they don't behave quite like your standard cake pans when it comes to baking time. The removable bottom, the spring-loaded sides, even the way heat circulates around them—it all affects how long your cake needs in the oven. Let's break down everything you need to know so you don't end up with my birthday cake disaster.
What Actually Affects Baking Time in Springform Pans?
Before we dive into specific times, you need to understand why your springform pan might need different timing than what your grandmother's recipe card says.
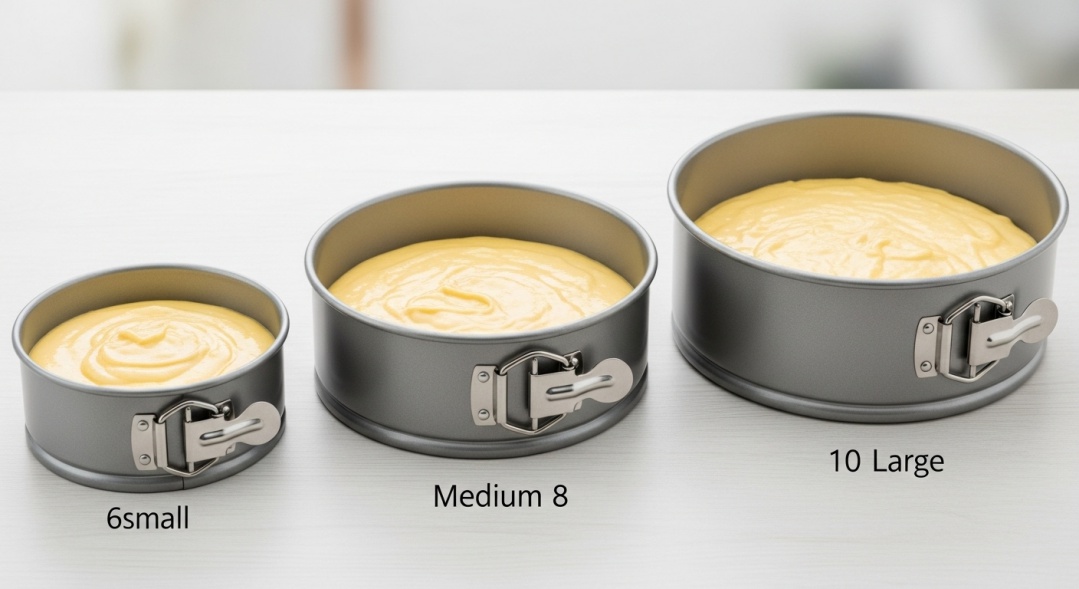
Pan Size Makes All the Difference
This seems obvious, but it's worth emphasizing: a cake in a 6-inch springform pan will bake way faster than the same batter in a 10-inch pan. It's not just about width either—depth matters too. I once poured batter meant for an 8-inch pan into a deeper 7-inch one, and it took nearly 15 extra minutes to bake through. The batter was thicker, so the heat took longer to reach the center.
Your Batter's Personality
Not all cake batters are created equal. A light, airy sponge cake with whipped egg whites bakes much faster than a dense, moist carrot cake loaded with grated vegetables and nuts. I've found that butter-based cakes generally take longer than oil-based ones because butter creates a tighter, denser crumb structure. It's like the difference between a fluffy cloud and a firm mattress—one's going to take more time to heat all the way through.
The Pan Material Mystery
Here's something I didn't realize until I upgraded from my old hand-me-down springform pan to a nice dark non-stick one: dark pans absorb heat faster than light-colored ones. My new pan cut about 5 minutes off my usual baking time, but it also meant I had to watch more carefully for over-browning. Light aluminum pans are more forgiving but might need those extra minutes.
The construction matters too. My original springform pan had thin walls that conducted heat quickly—sometimes too quickly. My newer, heavier-gauge pan distributes heat more evenly, which means more consistent results but occasionally longer baking times.
Don't Forget Your Oven's Quirks
I hate to break it to you, but your oven is probably lying to you. When mine says 350°F, it's actually running closer to 365°F. I discovered this with a cheap oven thermometer, and it explained so many of my baking mysteries. If your oven runs hot or cold, you'll need to adjust your timing accordingly. An oven that runs 25 degrees hot can shave 5-10 minutes off baking time, while a cooler oven might add that much time.
Standard Baking Times by Pan Size
Alright, let's get to what you really came here for—the actual numbers. Keep in mind these are guidelines based on standard butter cakes at 350°F. Your mileage may vary depending on all those factors we just discussed.
Small Springform Pans (4-6 inches)
Typical baking time: 25-35 minutes
These little guys are perfect for individual-sized cakes or when you're testing a new recipe. I use my 4-inch pans for mini cheesecakes and personal birthday cakes for my kids. Because there's less batter and it's spread thinner, these bake surprisingly quickly.
For a standard vanilla or chocolate cake, I usually check at 25 minutes. The cake should spring back when lightly touched, and a toothpick should come out clean or with just a few moist crumbs. Cookie cakes in these small pans? Even faster—usually around 18-22 minutes.
One thing I've learned: small pans can go from perfect to overbaked in just a few minutes. Start checking early and don't wander off like I did that one time when I ended up with what I can only describe as vanilla hockey pucks.
Medium Springform Pans (7-9 inches)
Typical baking time: 35-50 minutes
This is the sweet spot for most home bakers. My 9-inch springform pan is probably my most-used cake pan, period. It's the Goldilocks size—not too big, not too small, just right for a family dinner or small gathering.
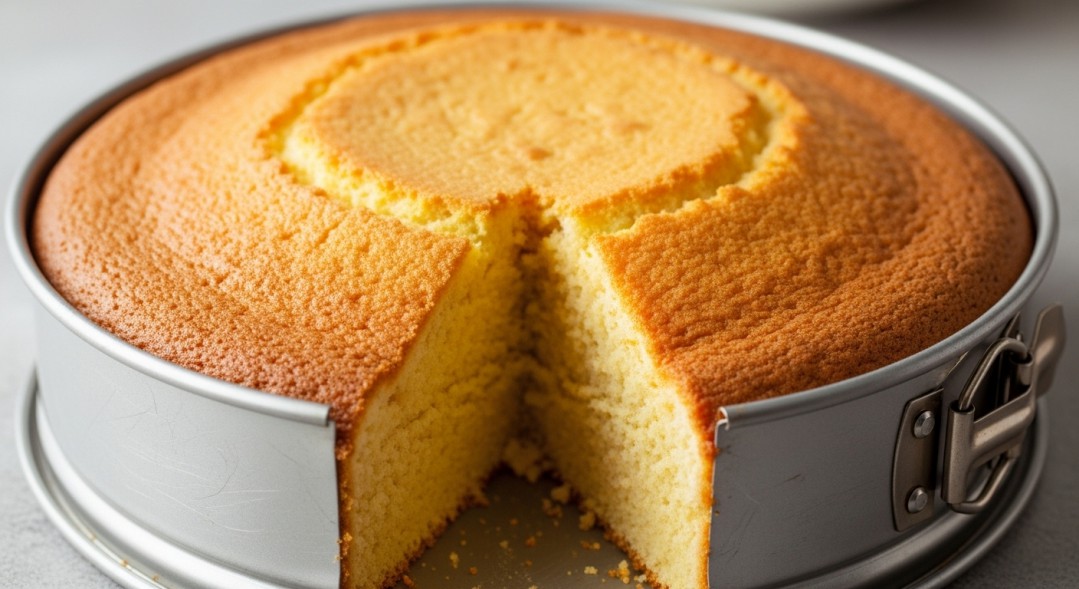
For a standard two-layer cake recipe, I typically bake at 350°F for about 40-45 minutes. The edges will start pulling away from the sides of the pan, and the top should be golden and spring back when touched. I always start checking around the 35-minute mark because I'd rather add time than deal with an overbaked cake.
Dense cakes like pound cake or German chocolate cake might push toward that 50-minute mark or even beyond. I made a sour cream coffee cake in my 8-inch pan last month, and it needed a full 55 minutes because of all the streusel and density.
Large Springform Pans (10-12 inches)
Typical baking time: 45-65 minutes
Now we're getting into serious cake territory. My 10-inch springform pan comes out for birthdays, holidays, and whenever I need to feed a crowd. But here's what nobody tells you: these big pans can be tricky.
The challenge with a 10-inch pan is getting the center baked without overcooking the edges. I've found that lowering the temperature to 325°F and baking longer (50-60 minutes) often works better than the standard 350°F. The gentler heat gives the center time to catch up with the edges.
For really large 12-inch pans, you're looking at potentially 65-75 minutes depending on the batter. I once made a massive chocolate cake for a family reunion in my friend's 12-inch pan, and it took over an hour. We actually covered the top with foil for the last 20 minutes to prevent the top from getting too dark while the center finished cooking.
Pro tip I learned from trial and error: if you're adapting a recipe from a smaller pan to a 10-inch or larger, don't just increase the baking time proportionally. Add time in 5-minute increments and test frequently.
Specific Cake Types and Their Timing
Not all cakes play by the same rules. Here's what I've learned about timing different types of cakes in my springform pans.
Regular Layer Cakes
Your standard birthday cakes, vanilla cakes, chocolate cakes—these are pretty straightforward. At 350°F in a 9-inch springform pan, you're looking at 40-45 minutes. The texture should be springy, and a toothpick inserted in the center should come out clean or with a few moist crumbs (not wet batter).
I've found that chocolate cakes often take 3-5 minutes longer than vanilla because cocoa powder absorbs moisture differently. My go-to chocolate cake recipe needs 47 minutes in my 9-inch pan, while the vanilla version of the same recipe is done at 42 minutes.
Cheesecakes: A Completely Different Beast
Okay, cheesecakes deserve their own conversation because they break all the rules. These need low and slow—usually 325°F or even 300°F—and they take significantly longer than regular cakes.
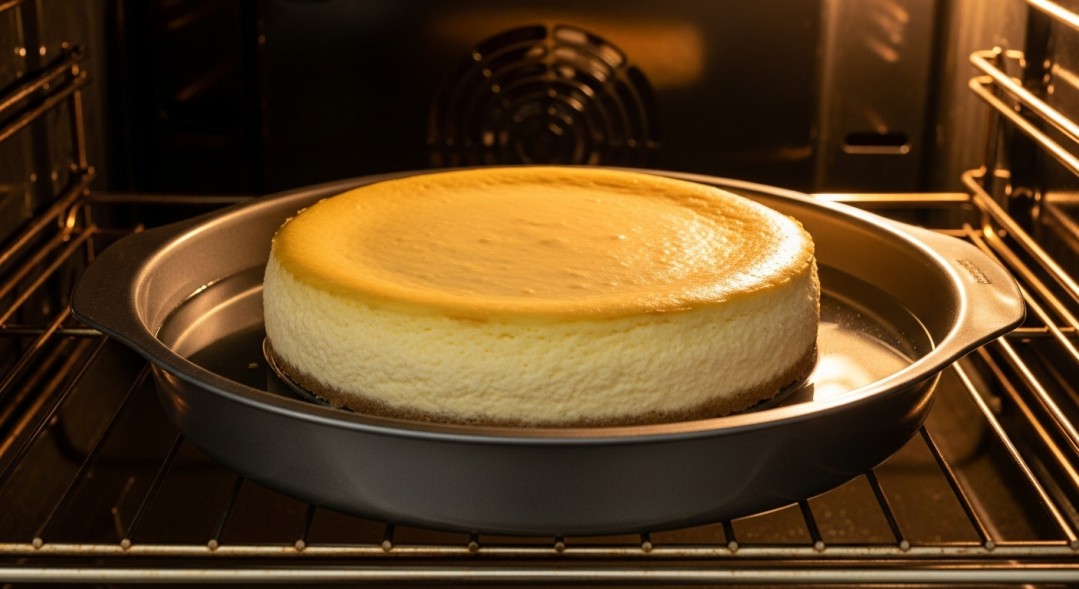
For a standard 9-inch cheesecake, I bake at 325°F for 55-70 minutes. The center should still have a slight jiggle (about the size of a quarter) when you gently shake the pan. It'll firm up as it cools. I learned this the hard way after overbaking my first three cheesecakes until they had that unfortunate cracked, dry texture.
Many cheesecake recipes call for a water bath, which adds even more time—sometimes up to 90 minutes. The water moderates the oven temperature and keeps things gentle. In a 10-inch springform pan, plan on 70-85 minutes for cheesecake.
Cookie Cakes in Springform Pans
This is one of my favorite tricks for parties. Press cookie dough into a springform pan, and you've got a giant cookie cake that's easy to decorate and slice. The timing is much shorter than regular cakes—usually 18-25 minutes at 350°F for a 9-inch pan.
The smallest springform pans (4-6 inches) will bake cookie dough in just 15-18 minutes. Watch carefully because cookie cakes can go from perfectly gooey to overdone quickly. I pull mine when the edges are golden but the center still looks slightly underbaked. They'll continue cooking from residual heat as they cool.
Dense and Heavy Cakes
Pound cakes, carrot cakes, fruit cakes—these dense varieties need extra time. The moisture and weight of the batter mean heat takes longer to penetrate to the center.
My carrot cake recipe (loaded with carrots, pineapple, and walnuts) takes 55-60 minutes in a 9-inch springform pan at 350°F. Pound cake can take 60-70 minutes. These are the cakes where the toothpick test becomes your best friend because the outside can look perfectly done while the inside is still raw.
I usually lower the temperature to 325°F for really dense cakes and add 10-15 minutes to the baking time. It's more forgiving and results in a more evenly baked cake.
The Toothpick Test and Other Doneness Indicators
Let's talk about how to actually know when your cake is done, because timing is just a guideline—your cake doesn't have a watch.
The toothpick test is classic for a reason. Insert a wooden toothpick or skewer into the center of the cake. If it comes out clean or with just a few moist crumbs, you're done. If you see wet batter, it needs more time. I like using wooden toothpicks rather than metal skewers because I can see the batter or crumbs more clearly against the wood.
But here's the thing: the toothpick test isn't perfect for every cake. For fudgy chocolate cakes or ultra-moist cakes, you might always get some crumbs, even when it's done. That's where other indicators come in.
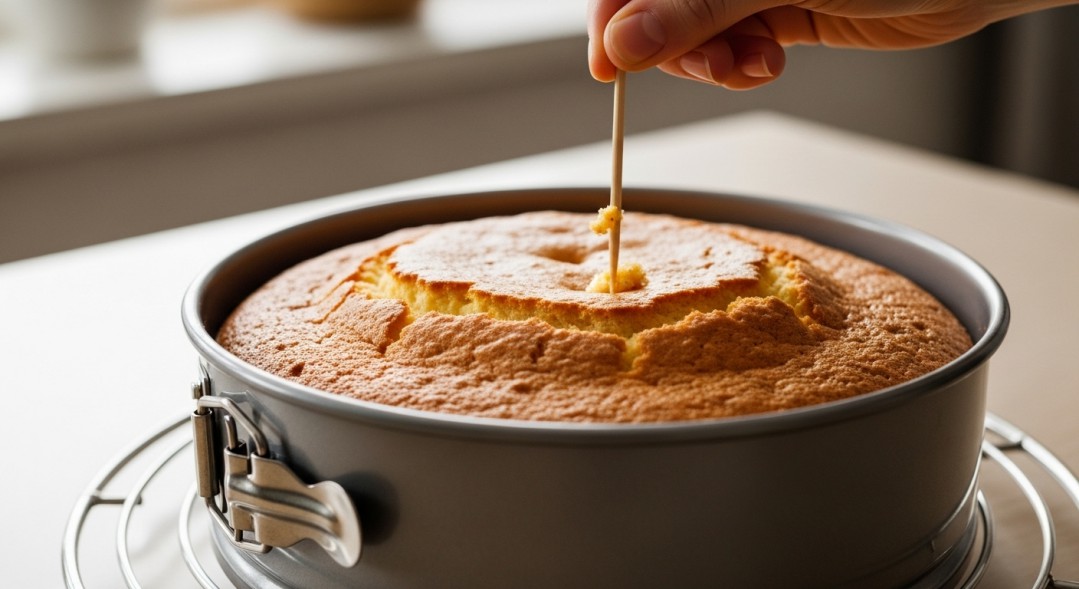
The touch test is your second line of defense. Gently press the top of the cake with your finger. It should spring back immediately. If your finger leaves an impression or the cake feels mushy, it needs more time. This was actually my grandmother's preferred method—she could tell if a cake was done just by touching it, no toothpick needed.
Visual cues matter too. The edges of the cake should be pulling away slightly from the sides of the springform pan. The top should be golden brown (not pale, not dark). For chocolate cakes, the top should look set and slightly cracked rather than shiny and liquid-looking.
If you want to get technical, an instant-read thermometer should register 200-210°F in the center of the cake when it's fully baked. I started using this method after too many "is it done?" debates with myself, and it's honestly the most reliable indicator. No more guessing.
Pro Tips for Perfect Results Every Time
After years of springform pan adventures (and misadventures), here are the tricks that actually make a difference.
Prep Your Pan Like You Mean It
Even with non-stick springform pans, I always prep them. I butter or spray the bottom and sides, then line the bottom with parchment paper. This extra step has saved me from so many stuck cakes. Cut the parchment into a circle that fits the bottom exactly—you can trace the bottom piece as a template.
For extra insurance with sticky batters (looking at you, chocolate cakes), I sometimes dust the buttered pan with flour or cocoa powder. Just tap out the excess. This creates a barrier between the batter and the pan that makes release so much easier.
The Halfway Rotation Trick
Most ovens have hot spots—areas that run hotter than others. Mine runs hotter toward the back left, which I discovered after several lopsided cakes. Now I rotate every cake halfway through baking. If my timer is set for 45 minutes, I open the oven at 22-23 minutes, quickly rotate the pan 180 degrees, and close the door.
This simple move has dramatically improved my baking consistency. Just don't do it too early—wait until the cake has set enough that rotating won't deflate it. Generally, after the first 20 minutes, you're safe.
Lower and Slower When in Doubt
If you're worried about burning the outside before the inside cooks, drop your temperature by 25 degrees and add 10-15 minutes to the baking time. This is especially helpful for large cakes in 10-inch or 12-inch pans. The gentler heat gives everything time to bake evenly.
I also use this technique if I'm baking a cake with a lot of sugar or mix-ins. High sugar content browns faster, so the lower temperature prevents the outside from getting too dark.
The Foil Tent Rescue
If your cake is browning too quickly on top but still needs time in the center, loosely tent it with aluminum foil. I keep a sheet of foil nearby when baking large cakes just in case. It's saved many cakes from over-browning while allowing the center to finish cooking.
Cooling Is Part of the Process
Here's something that took me embarrassingly long to learn: don't release the springform sides immediately. Let the cake cool in the pan for 10-15 minutes first. This gives it time to firm up and reduces the chance of the cake falling apart.
For delicate cakes like cheesecake, I actually leave them in the pan until completely cool, sometimes even refrigerating overnight before releasing the sides. Patience really does pay off here.
Troubleshooting Common Timing Issues
Even with the best guidance, things can go wrong. Here's how to fix the most common problems.
Dark Outside, Raw Inside
This is the classic "I didn't adjust for my pan size" problem. It usually happens when you try to bake a thick cake at too high a temperature or in too large a pan without adjusting time. The fix? Lower your oven temperature to 325°F or even 300°F and extend the baking time. Cover the top with foil if it's browning too fast.
I've also found this happens with dark non-stick pans. They absorb heat so efficiently that the outside cooks faster than the inside. If you have a dark springform pan, try reducing the oven temperature by 25 degrees from what the recipe calls for.
The Dreaded Sunken Center
A cake that rises beautifully then sinks in the middle is heartbreaking. This usually means it wasn't fully baked—the structure hadn't set before you pulled it out. The center collapses as it cools because the proteins haven't fully coagulated.
The solution is simple but frustrating: it needs more time. Even if the toothpick comes out mostly clean, if the center is still jiggly or soft when you touch it, give it another 5 minutes. I've learned to trust the touch test for this—if it doesn't spring back immediately, it's not done.
Opening the oven door too early can also cause sinking. The temperature drop can deflate a cake that's still structurally delicate. I never open the door until at least 20-25 minutes into baking, no matter how curious I am.
Converting Recipes from Regular Pans
When you're adapting a recipe written for a regular 9-inch round pan to a springform pan, you might need to add 5-10 minutes to the baking time. Springform pans often have thinner walls than solid cake pans, which can affect heat distribution.
My rule of thumb: start checking at the recipe's original time, but expect to add at least 5 minutes. I keep a notebook where I write down adjustments so I remember for next time. Last week I made a recipe that called for 35 minutes in a regular pan; in my springform, it needed 42 minutes. I wrote that down so future me doesn't have to guess.
Quick Reference Guide
Here's a handy chart to pin on your fridge or save on your phone. These are starting points—always use the doneness tests we talked about to confirm.
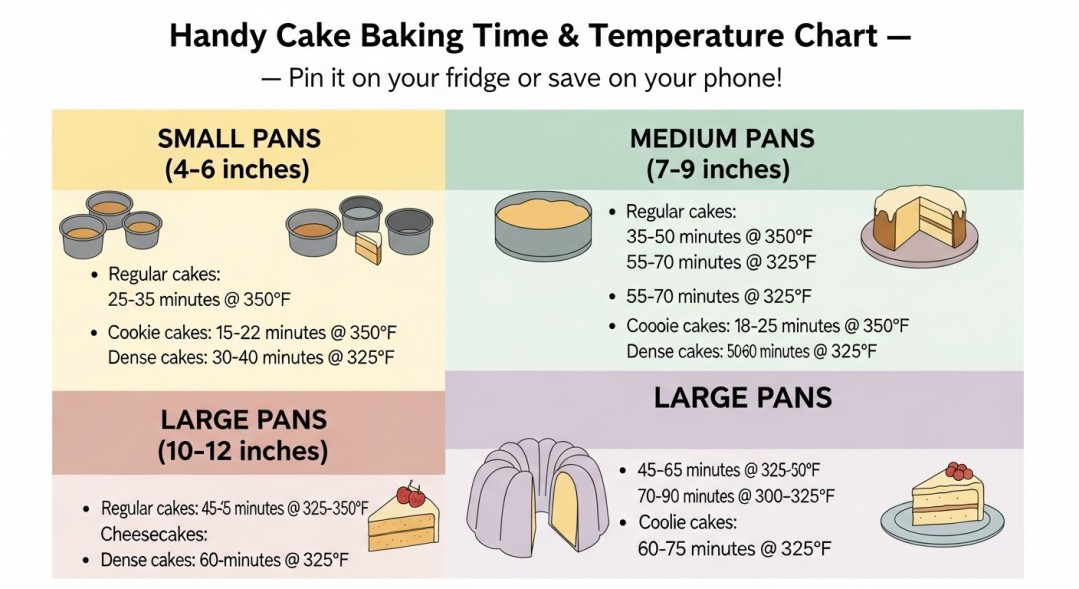
Small Pans (4-6 inches):
- Regular cakes: 25-35 minutes at 350°F
- Cookie cakes: 15-22 minutes at 350°F
- Dense cakes: 30-40 minutes at 325°F
Medium Pans (7-9 inches):
- Regular cakes: 35-50 minutes at 350°F
- Cheesecakes: 55-70 minutes at 325°F
- Cookie cakes: 18-25 minutes at 350°F
- Dense cakes: 50-60 minutes at 325°F
Large Pans (10-12 inches):
- Regular cakes: 45-65 minutes at 325-350°F
- Cheesecakes: 70-90 minutes at 300-325°F
- Cookie cakes: 25-30 minutes at 350°F
- Dense cakes: 60-75 minutes at 325°F
Bringing It All Together
After all these years of baking with springform pans, I've come to appreciate that baking times are more art than science. Your oven is different from mine. Your springform pan heats differently. Your altitude, your ingredients, even the humidity in your kitchen—all of it matters.
The most important lesson I've learned? Start checking early and often. Set your timer for 5 minutes before the minimum suggested time and take a peek. Use multiple doneness tests—toothpick, touch, visual cues, and temperature if you have a thermometer. Trust your senses more than the clock.
Keep notes on what works for your specific setup. I have a little notebook in my kitchen where I jot down "carrot cake in 9-inch springform: 58 minutes at 325°F" or "chocolate chip cookie cake in 10-inch: 24 minutes, edges golden." It seems tedious, but it's made me a much more confident baker.
And remember, even experienced bakers have overbaked or underbaked cakes. That birthday cake disaster I mentioned at the beginning? We laughed about it, sliced off the crusty edges, served the gooey center with ice cream, and called it a deconstructed cake. Sometimes the imperfect results make the best memories.
Now you've got all the timing information you need. Go forth and bake with confidence. Your springform pan is waiting, and this time, you'll know exactly how long to leave that cake in the oven.
Leave a Reply